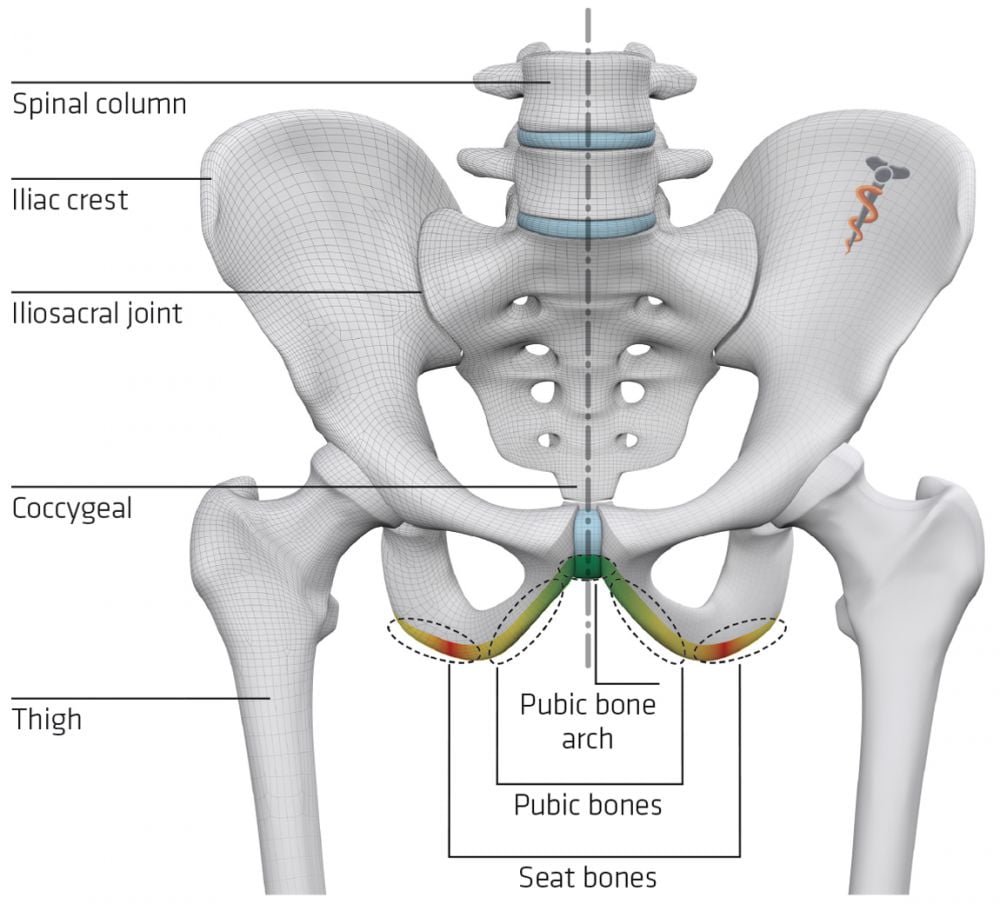
This post will explain how to measure one’s sit bone width (at home). Sit bone width is important when choosing an optimal saddle width (so it is neither too narrow, nor too wide).
Contents:
1. Tools needed
Tools needed to measure sit bone width at home are relatively cheap and widely available. You are most likely to already have them at hand.

Bench
With a flat surface. Should be hard, or not too softly (thickly) padded. Height so that, when a rider is seated, their knees are bent at (about) 90 degrees angle. If a bench/chair is too high, some object can be placed under the rider’s feet, so that knees are at the right angle.

Cardboard (box)
Cardboard, of some old package box. So that it is soft enough to dent under pressure. Take a nice, flat part of cardboard, about 40 cm wide and about 30 cm long (absolute minimum is 20 by 10, if one knows where to sit exactly – so that sit bones leave an imprint).

Chalk
Chalk. Any colour will do – as long as it is long (about 10 cm) and (longitudinally) flat.
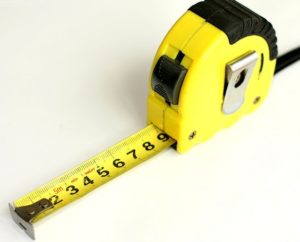
Measuring tape
Of course, some kind of measuring tape. Any will do. Measured distances are below 20 cm and over 10 cm.
2. Measuring procedure
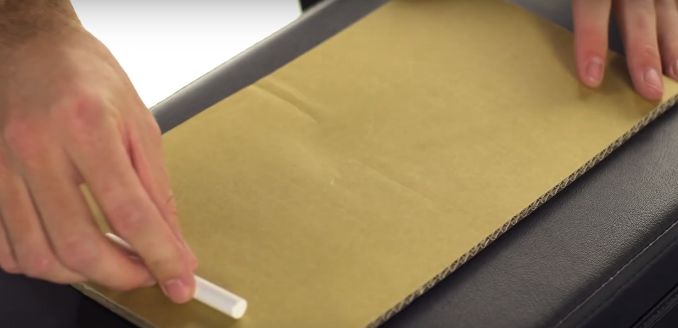
Place the cardboard on the bench.
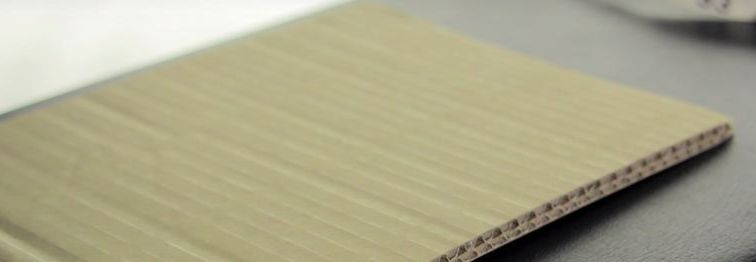
Cardboard placed on the bench
Source: www.artscyclery.com
Sit on the (middle part of the) cardboard with the back straight.

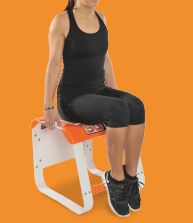
Body can be pressed down onto the cardboard using hands (Picture 6b), or an “assistant” can press onto the shoulders, so that a nicer and deeper imprint is made.
Stand up. 🙂
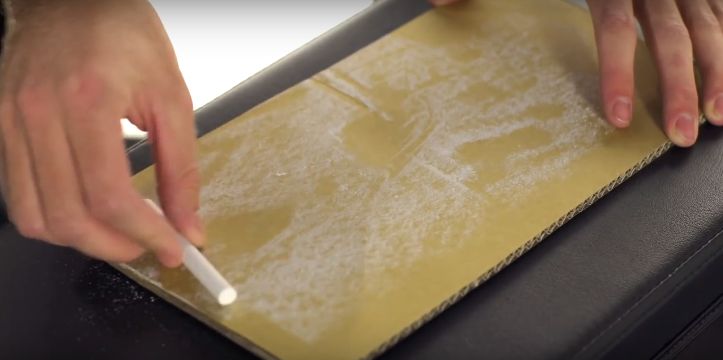
Place the chalk flat on the cardboard and paint the cardboard. Indentations made by the sit bones will remain not painted.
Find the middle of both the impressions and mark them (with a pen, or the chalk tip).
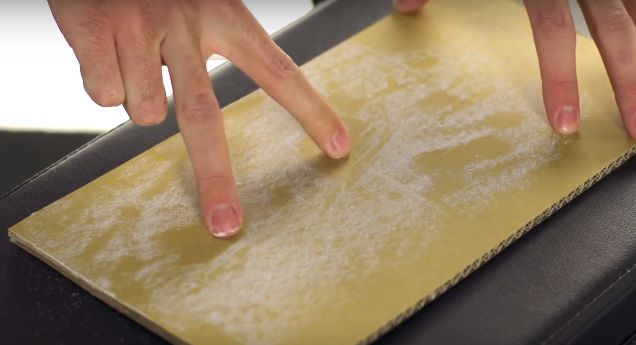
Find and mark the middle of both the impressions.
Source: www.artscyclery.com
Finally, measure (in mm, because that’s how saddle widths are usually expressed) the distance between the two impression centers.
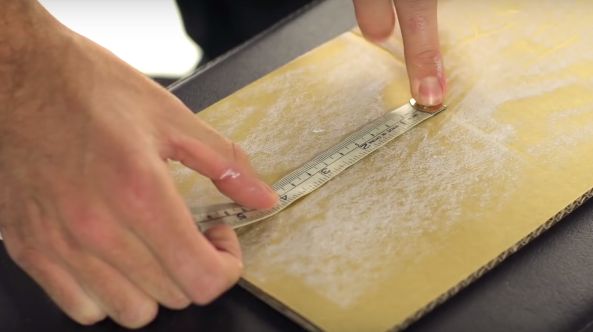
Measuring the distance between the two impression centers
Source: www.artscyclery.com
This concludes measuring sit bone width – an important factor when choosing a correct saddle width.
How to choose an optimal saddle width, based on these measurements and riding position, is explained in this post:
Optimal bicycle saddle (seat) width
3. Bicycle saddle model recommendations
Before buying, I would suggest reading all 5 short articles in this series (this one is 4th):
- Bicycle saddle fit [01] Materials they are made of
- Bicycle saddle fit [02] Saddle padding
- Bicycle saddle fit [03] Saddle shape
- Bicycle saddle fit [04] Measuring sit bone width
- Bicycle saddle fit [05] Optimal saddle width
- My bicycle saddle is uncomfortable, what should I do?
If a concrete model recommendation helps you, these are the ones I’ve been very happy with over the years (using Amazon affiliate links):
An excellent MTB saddle is Selle Royal model Suez.
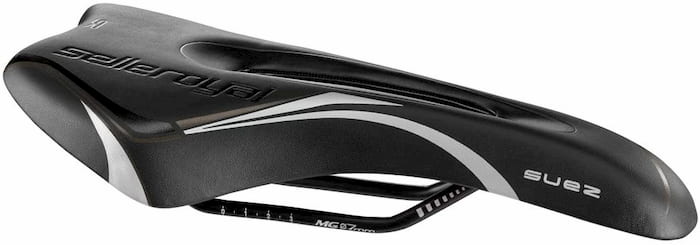
A rather athletic saddle, but its padding is not too hard, so they are comfortable even without the use of padded cycling shorts (bibs) – Amazon affiliate link. It is cut out in the middle, to eliminate any pressure on the “sensitive parts” of both men and women (for the latter claim I’m relying on the feedback I got from female cyclists who have used this model – just look at my pronouns 🙂 ).
An excellent saddle for city bicycles (and all the others with a more upright sitting position), is Brooks model Flyer.
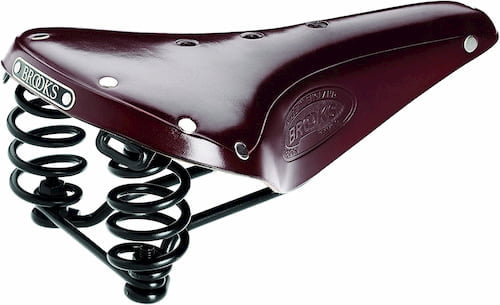
Brooks Flyer is a bit heavier (steel frame, with leather). But thanks to its shape, and the springs at the rear, it is very comfortable, even on extremely long rides (cyclo-touring etc.). Springs are very hard, so you won’t be bouncing when pedalling, but they will absorb any harsh road shocks (bumps, potholes). The leather is great for the summer, but can feel a bit colder in the winter (compared to synthetic materials), and it can get soaked if left in the rain. So I’d avoid this for very wet, or cold climates.
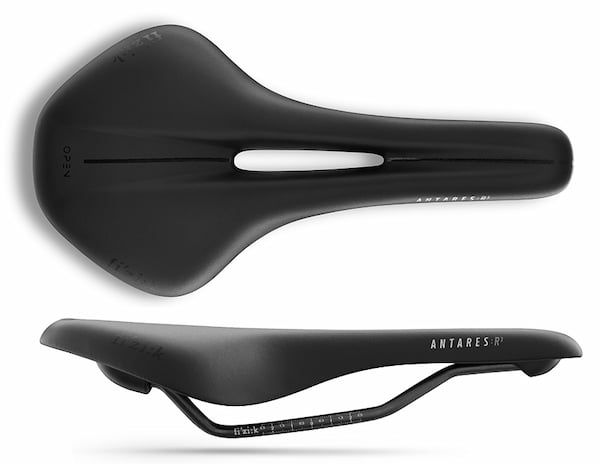
Finally, a road bicycle recommendation – Fizik Antares R3 Open K:IUM Regular black