A colleague asked me to find her a road bicycle for up to around 200 euros. Since small sized frame 2nd hand bikes offer was very poor, it was decided to find a frame and components and assemble a nice fast bike. 🙂
1. Sourcing parts and preparations
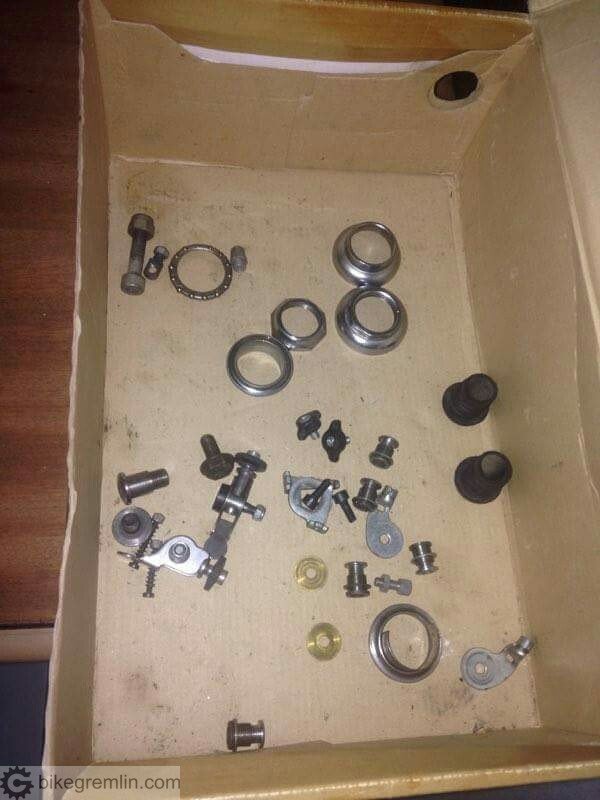
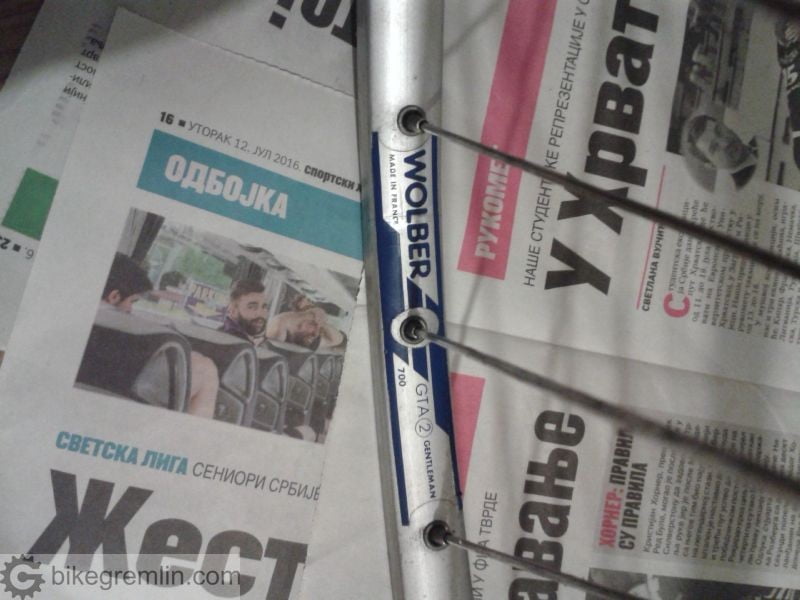
Suitable frame was found. Old Peugeot road frame with chromium-molybdenum Columbus tubing.
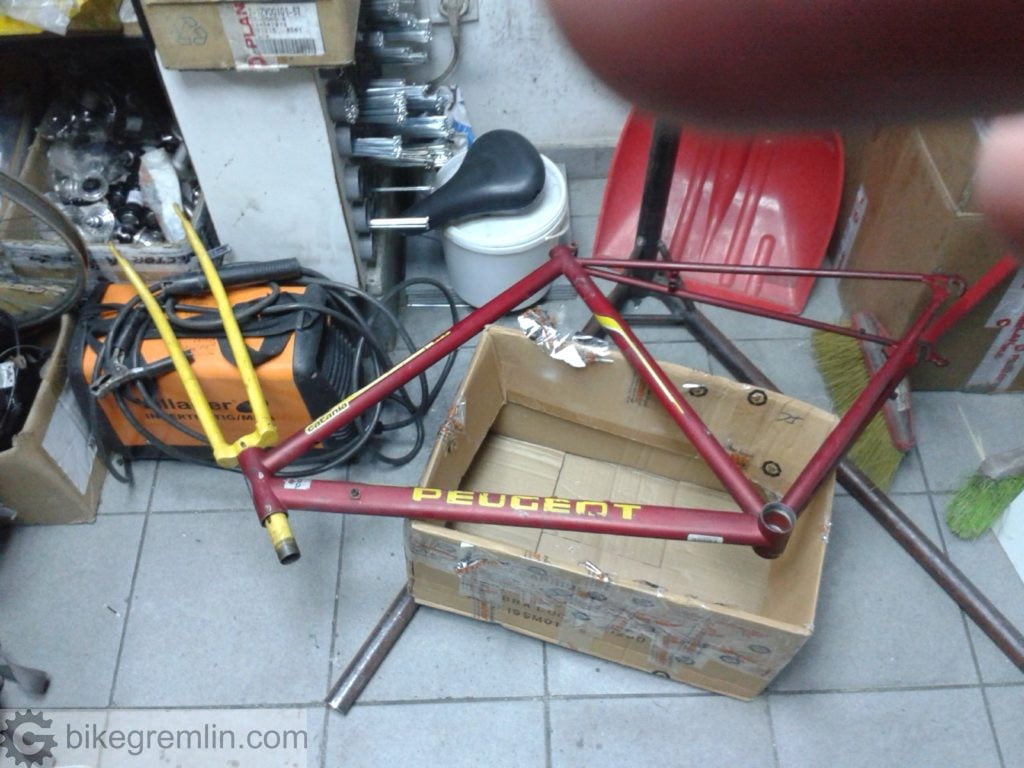
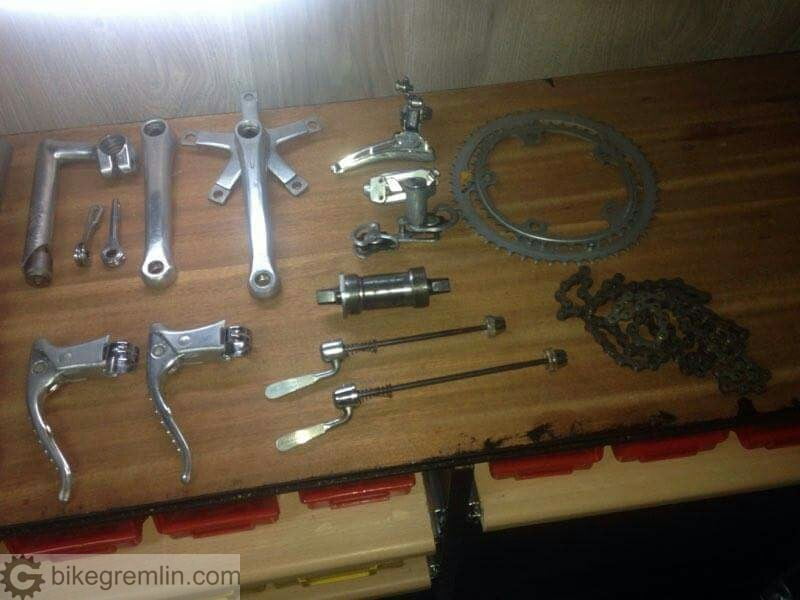
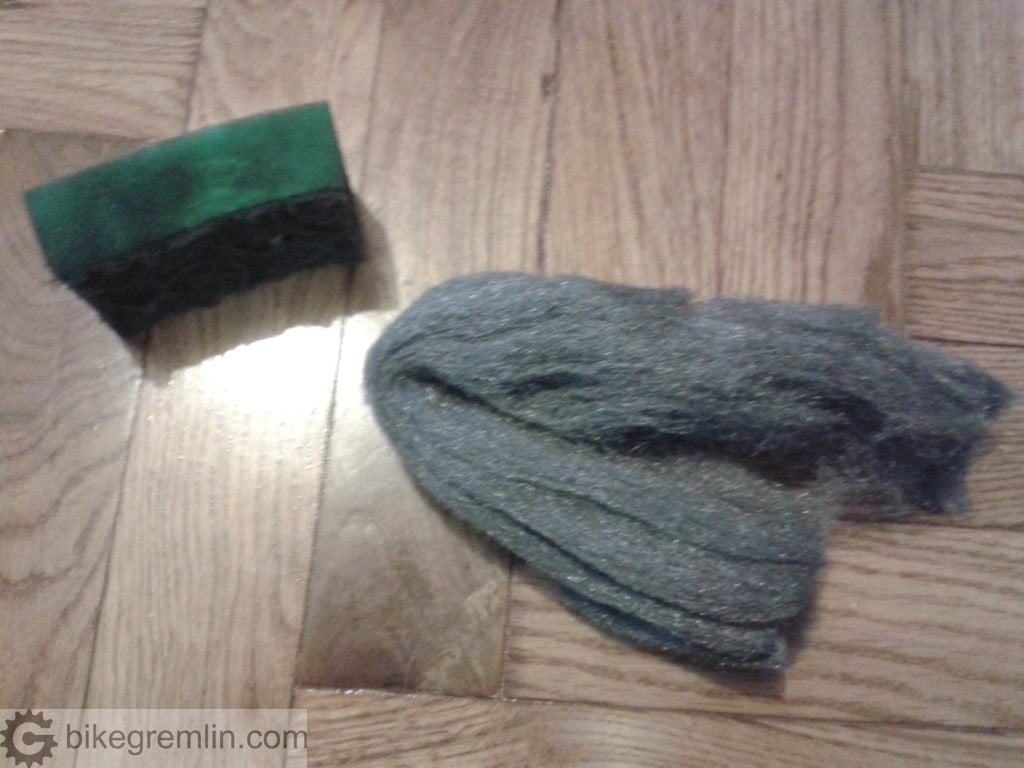
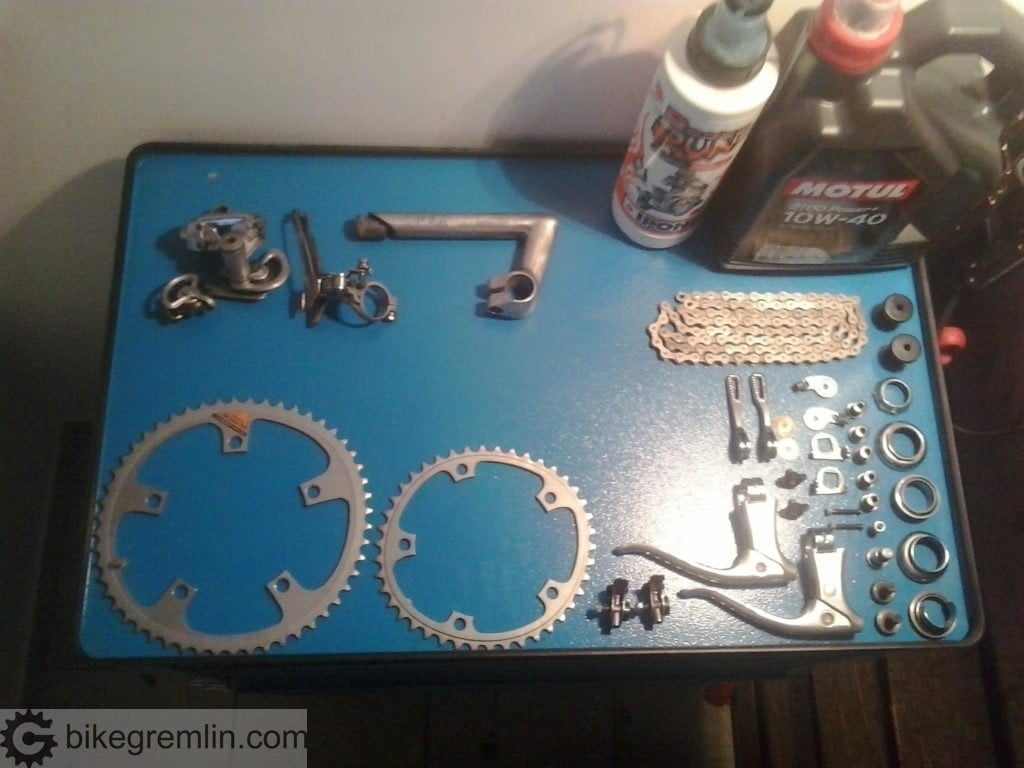
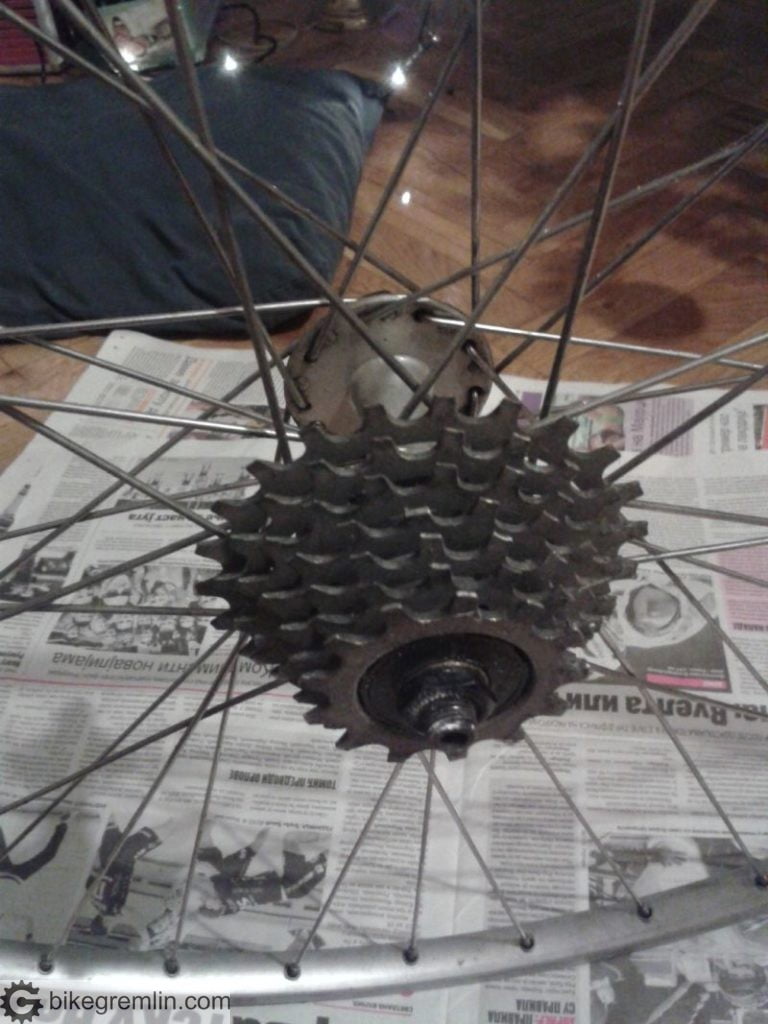
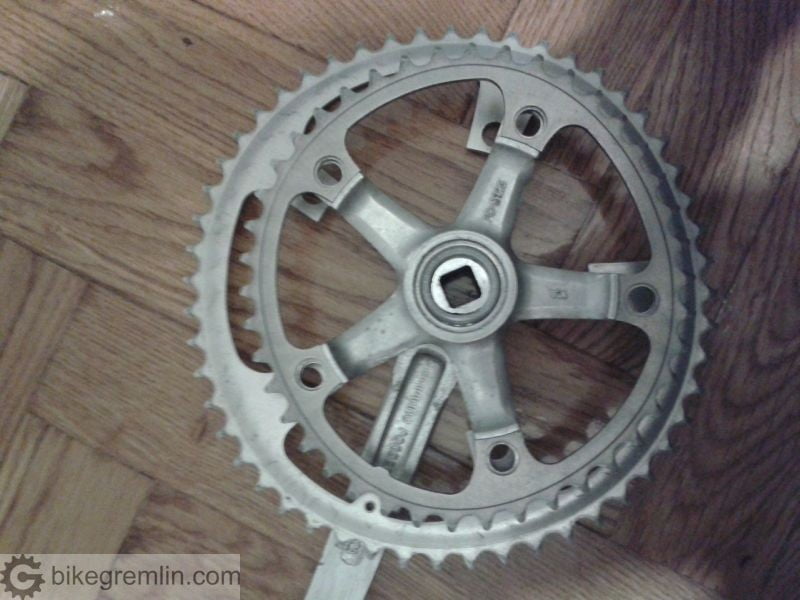
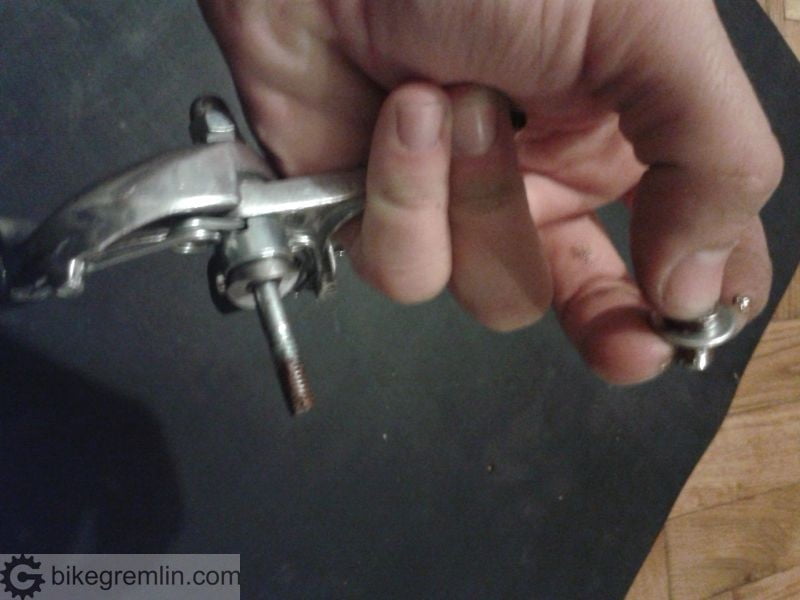
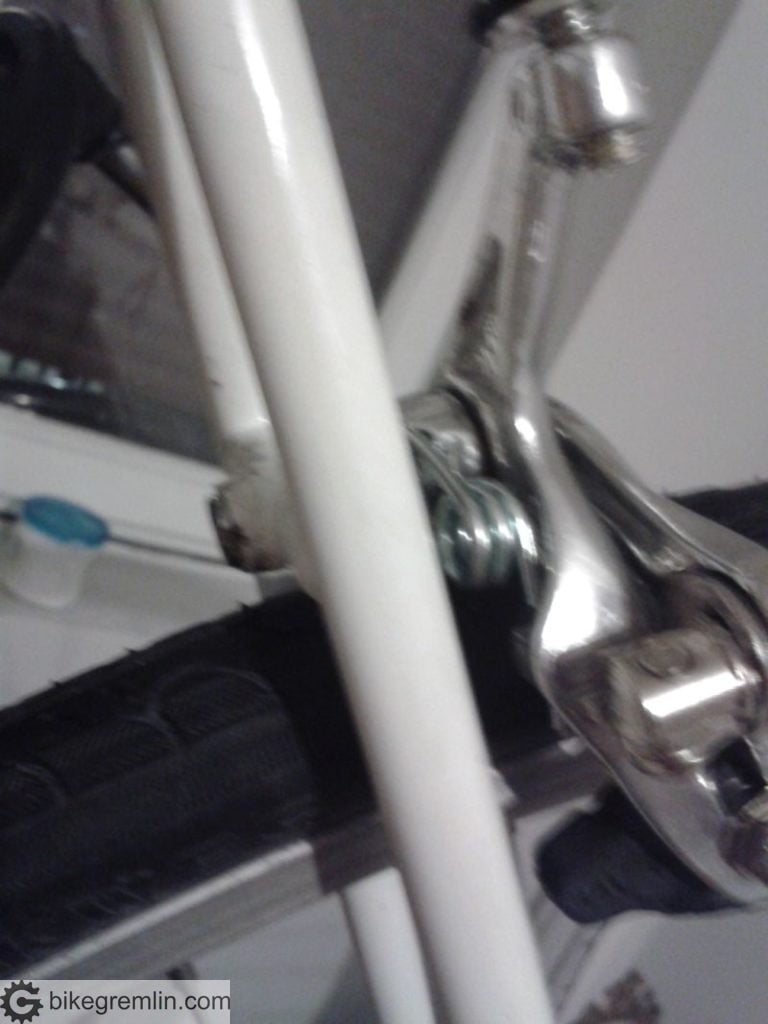
Next came the groupset. Shimano 600 brakes and brake levers, with SunTour derailleurs and shifters. Crankset was Shimano BioPace 53-42. It all needed some cleaning and lubing.

After some cleaning, this is what it looks like:
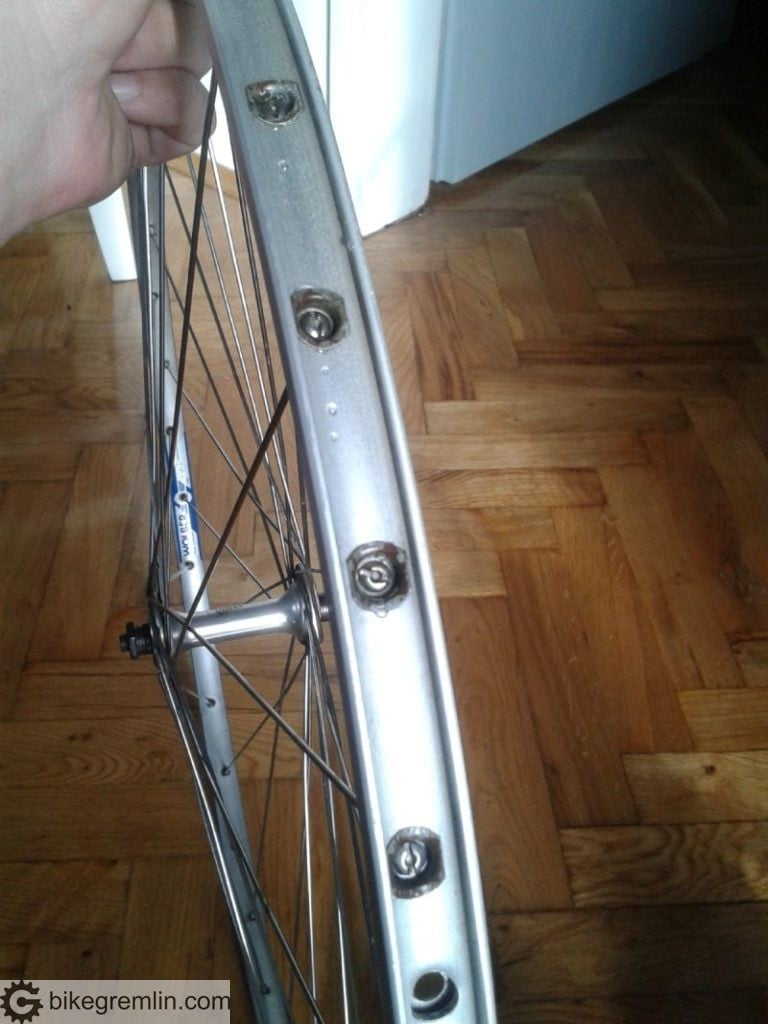
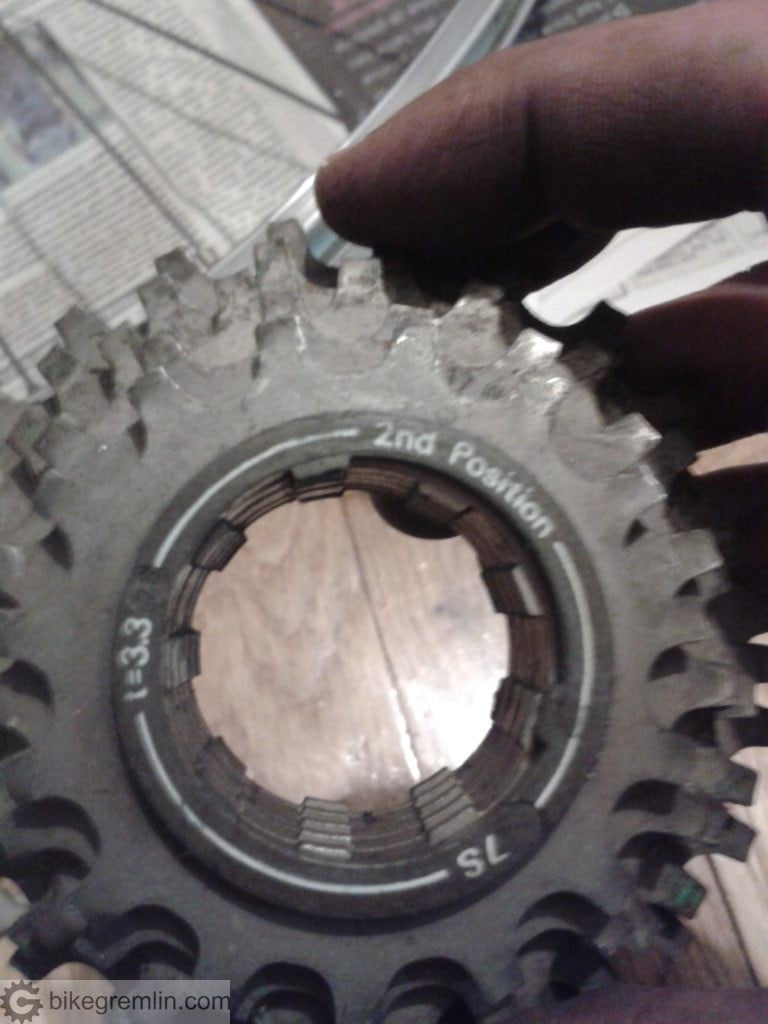
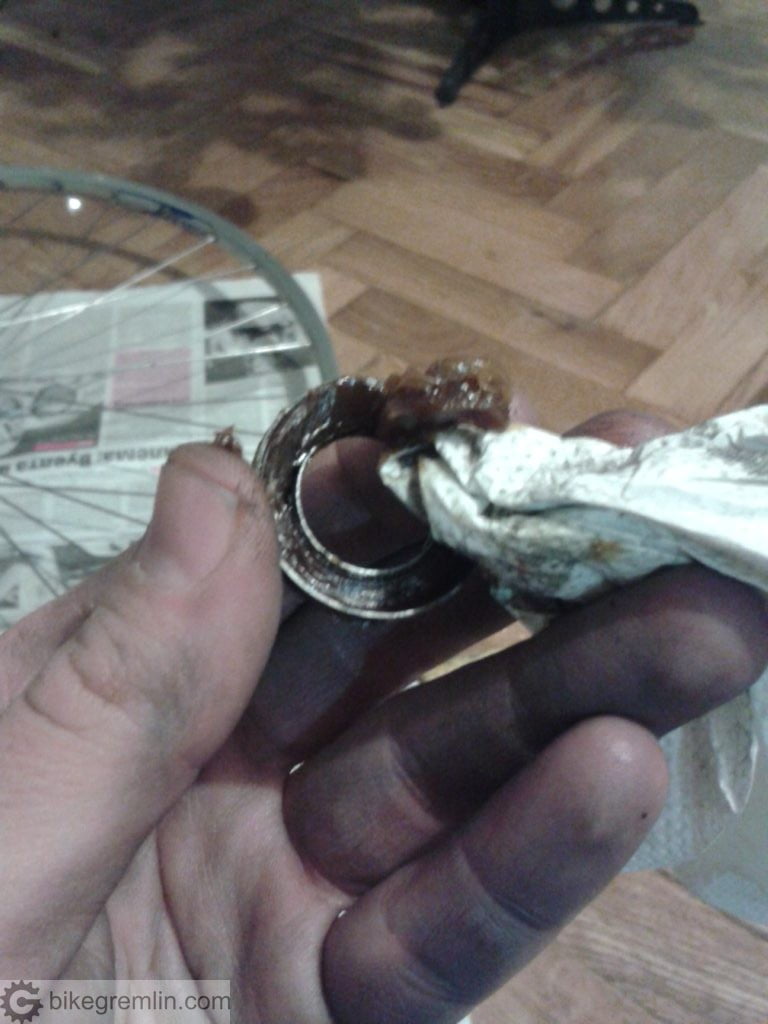
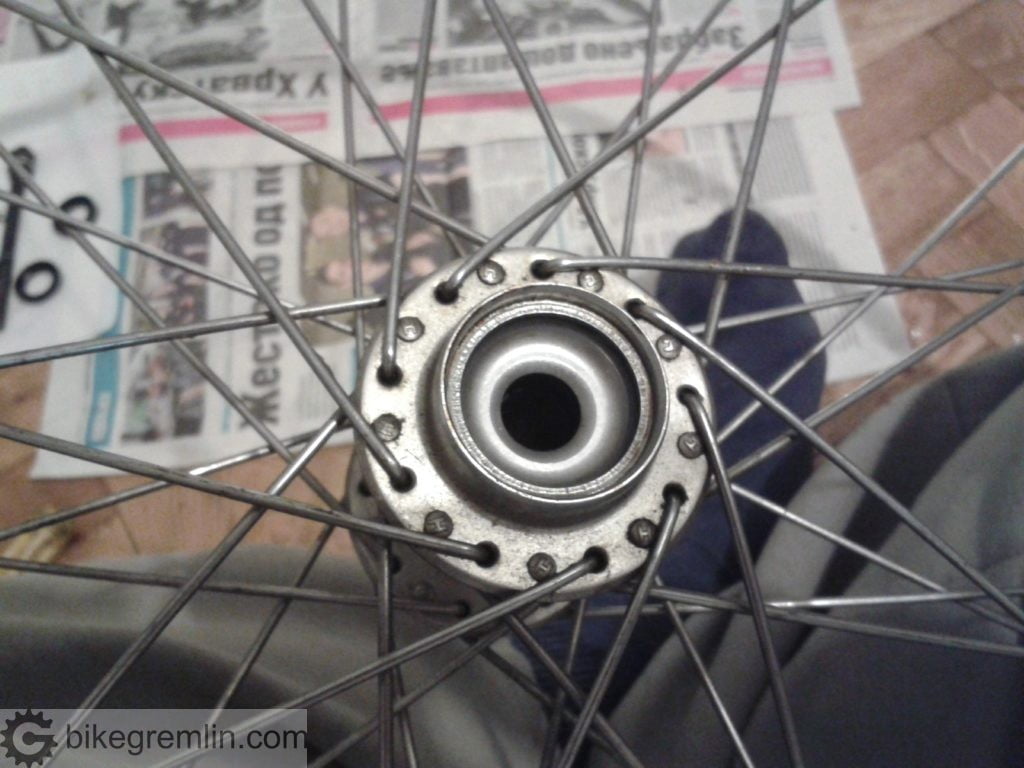
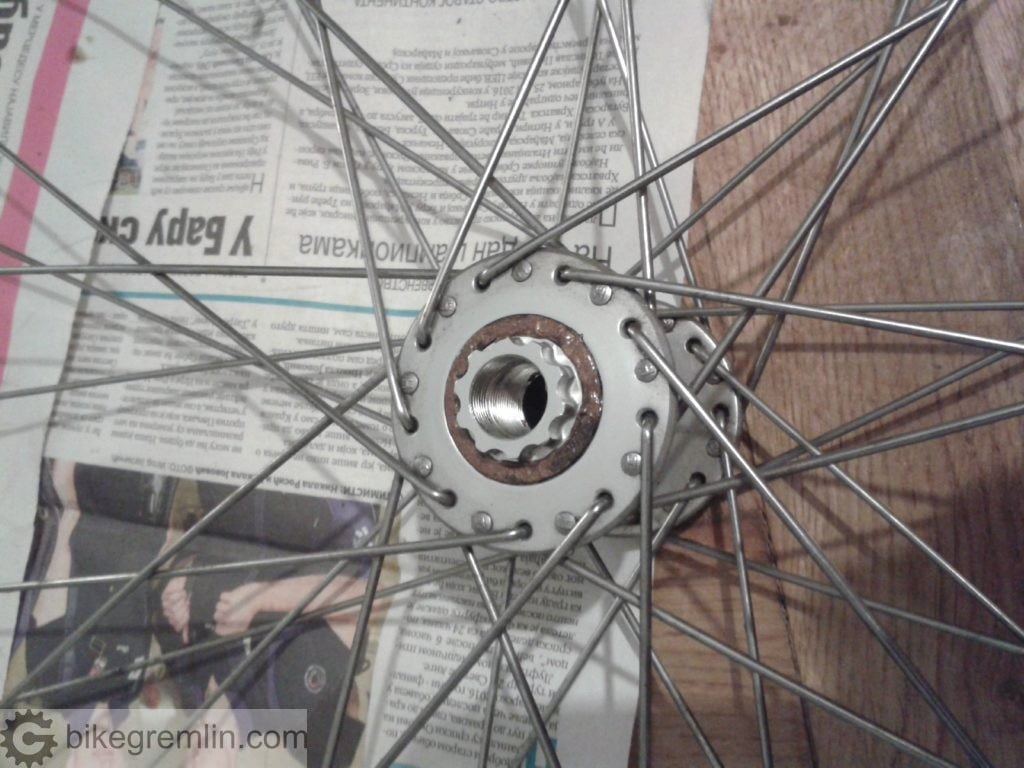
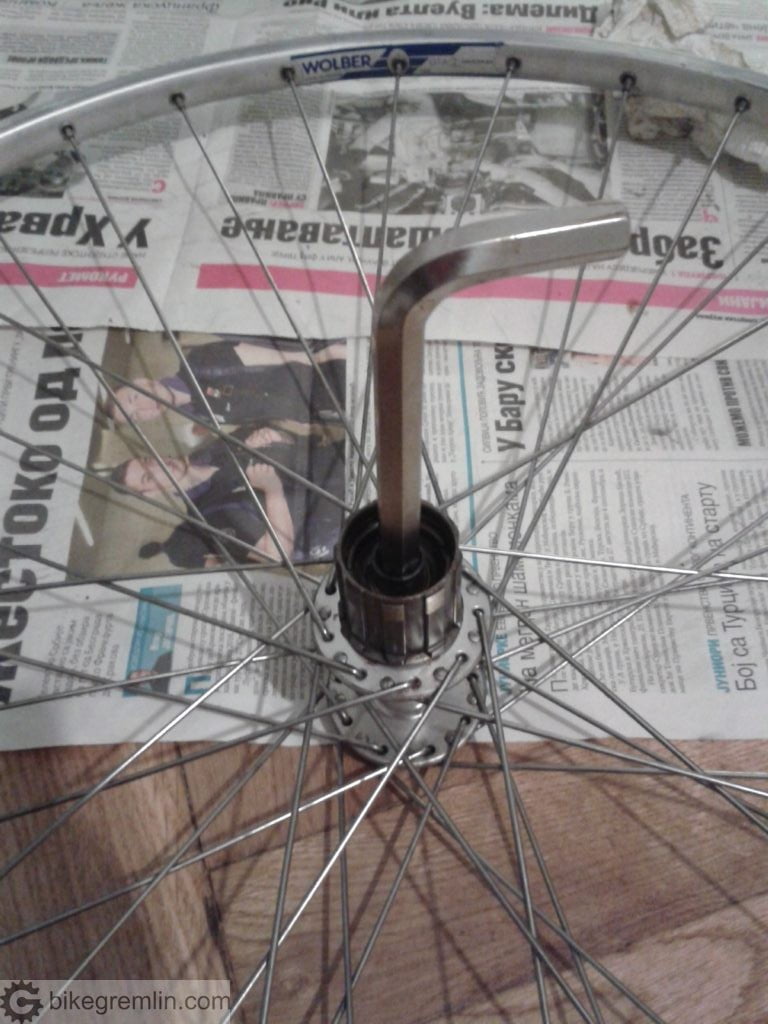
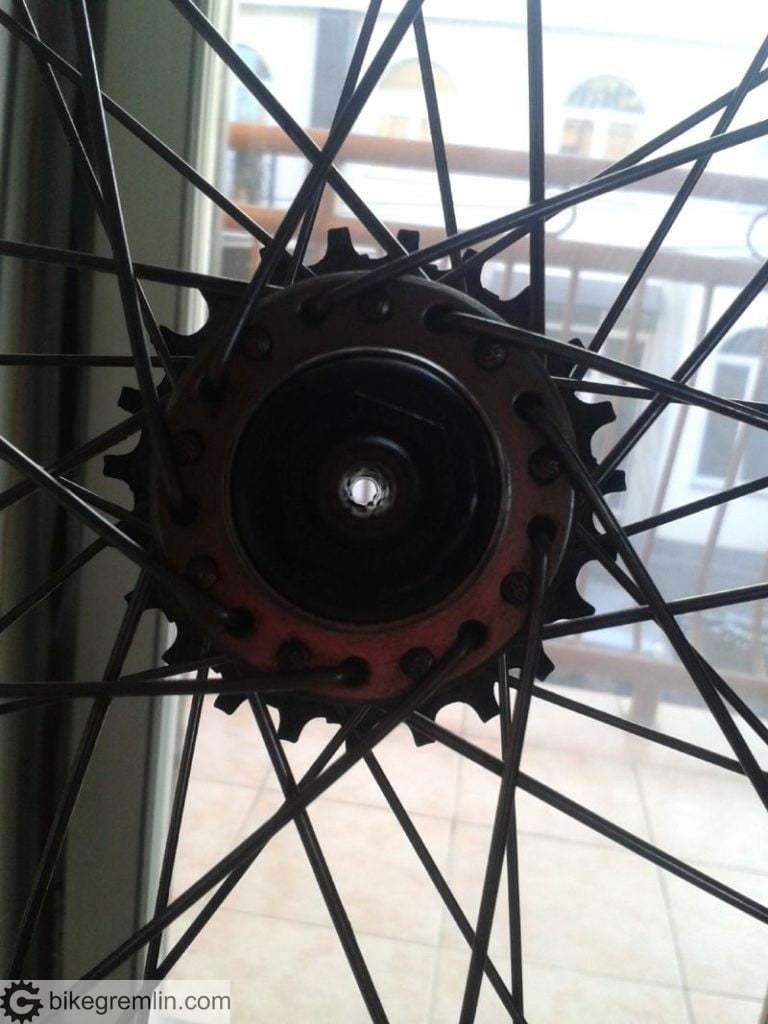
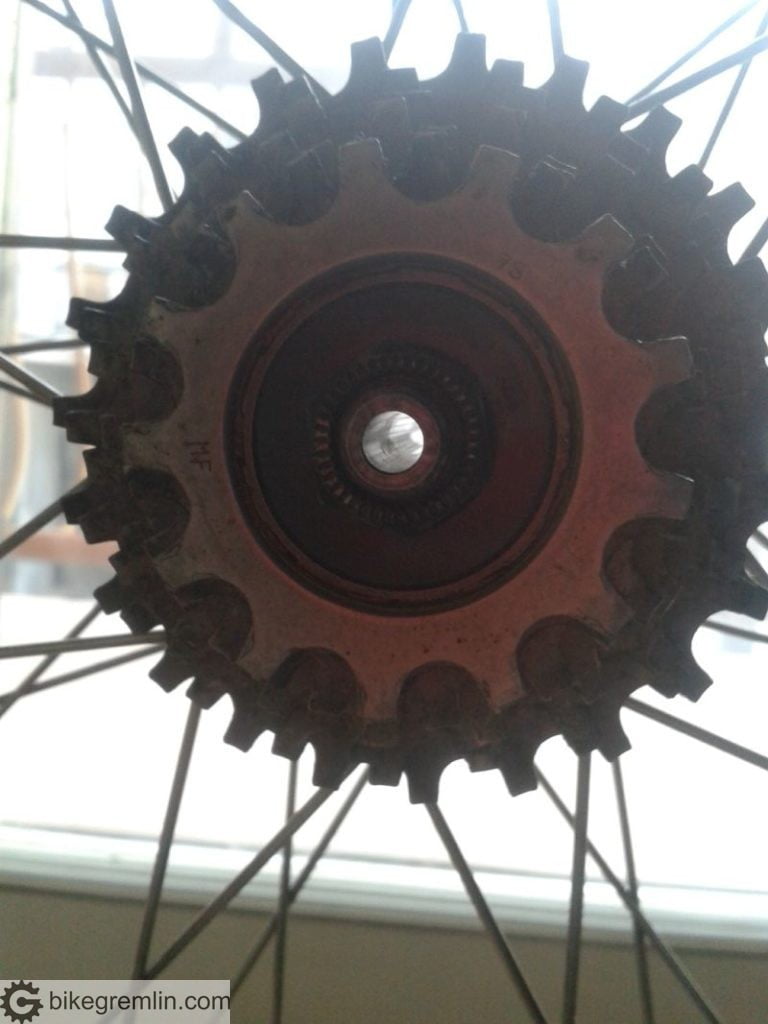
2. Restoring hubs and wheels
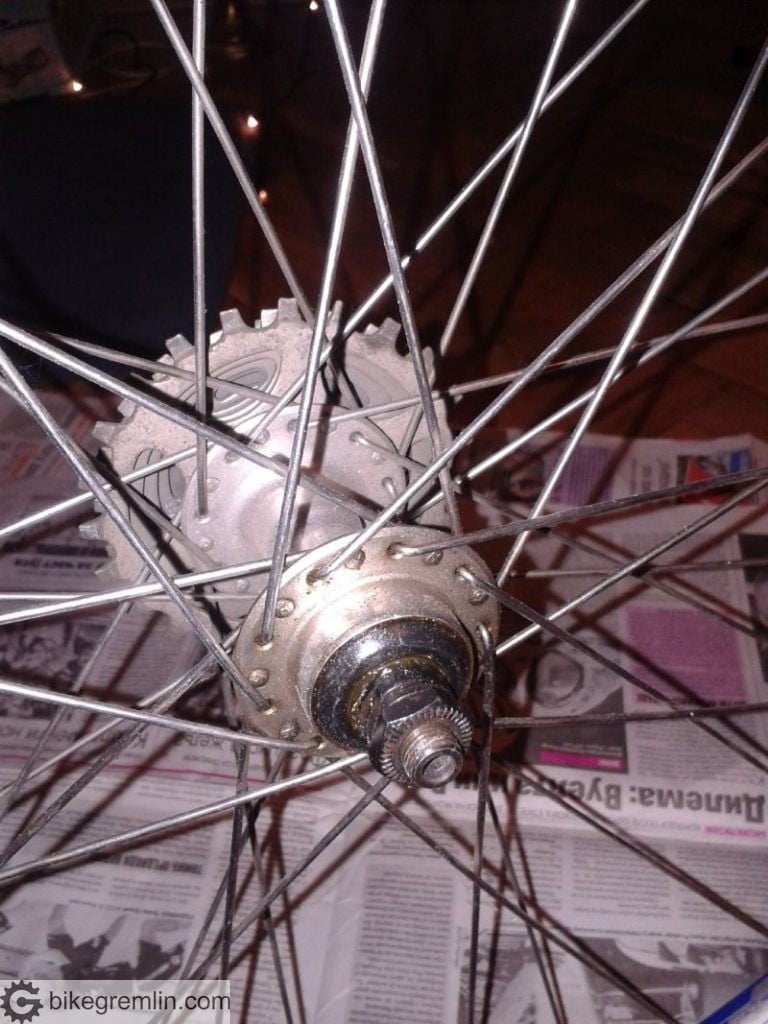
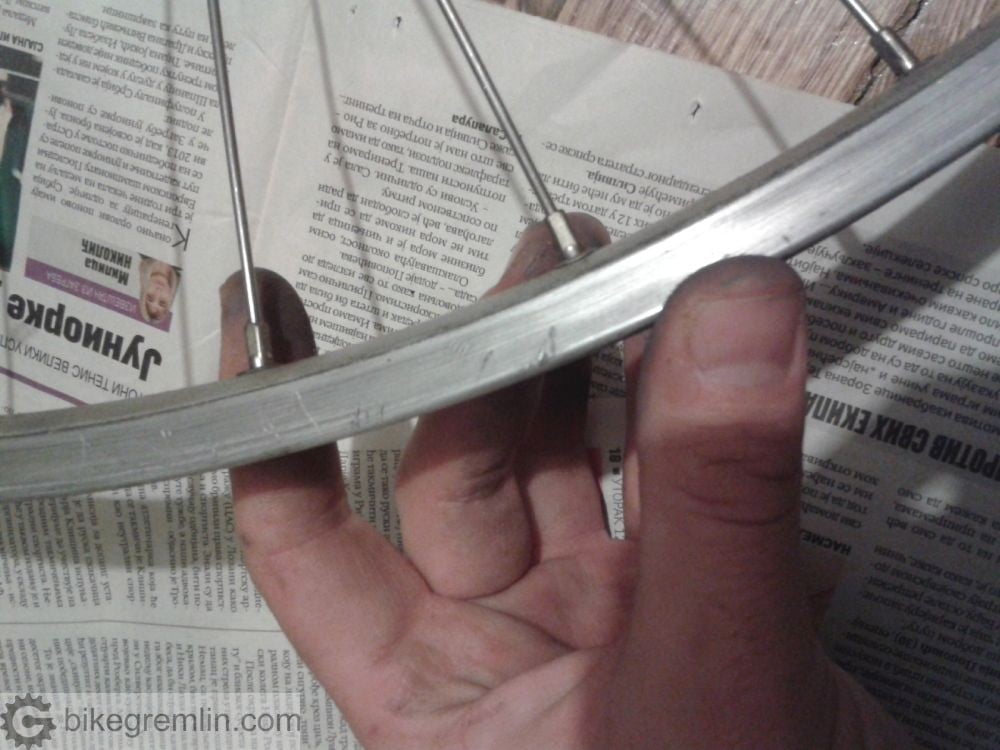
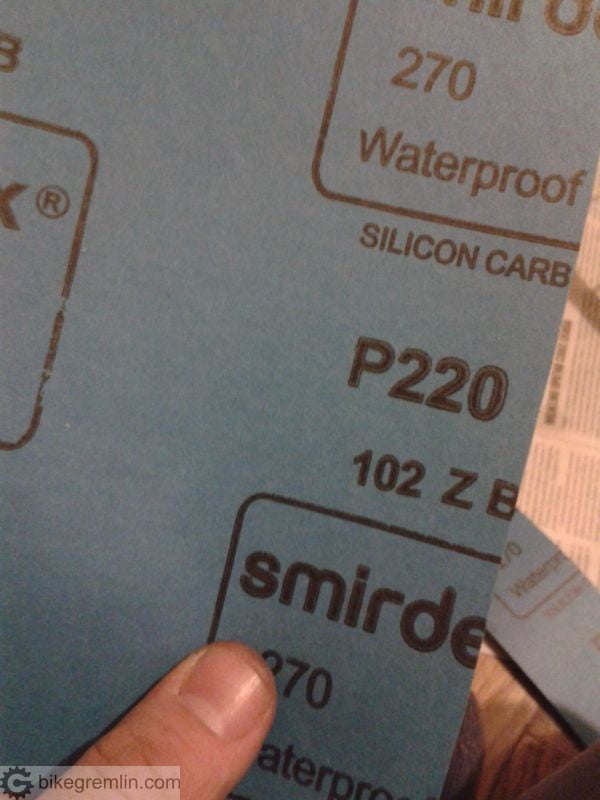
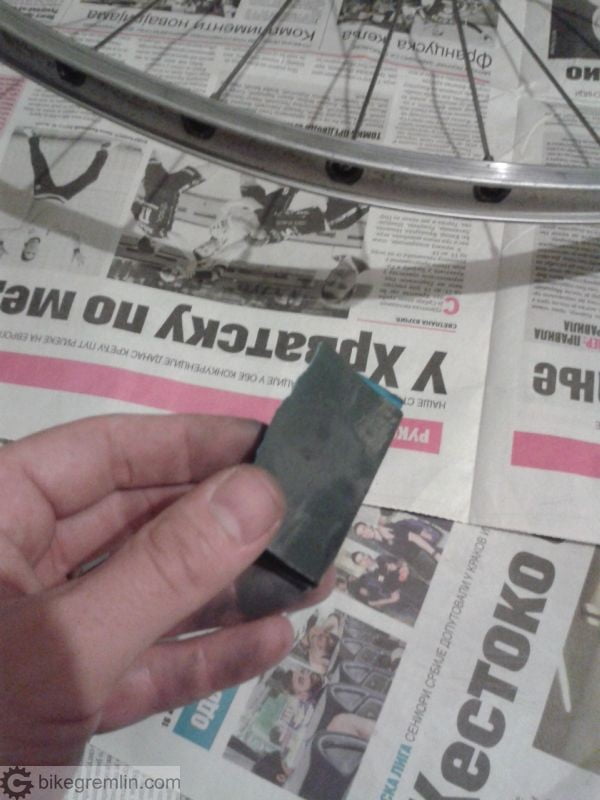
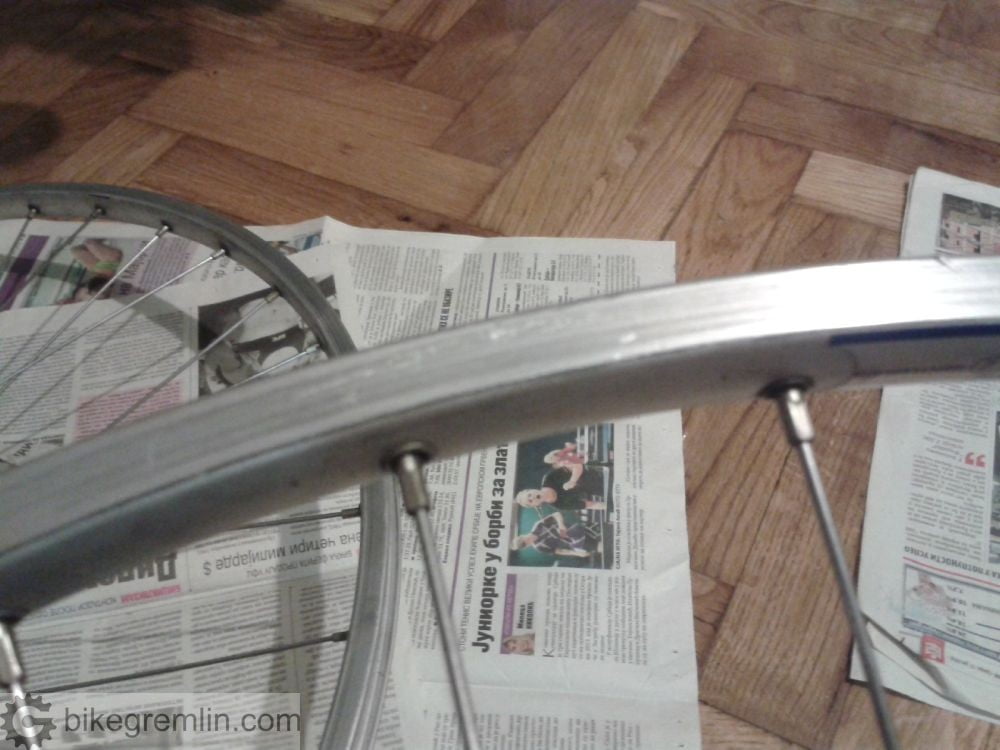
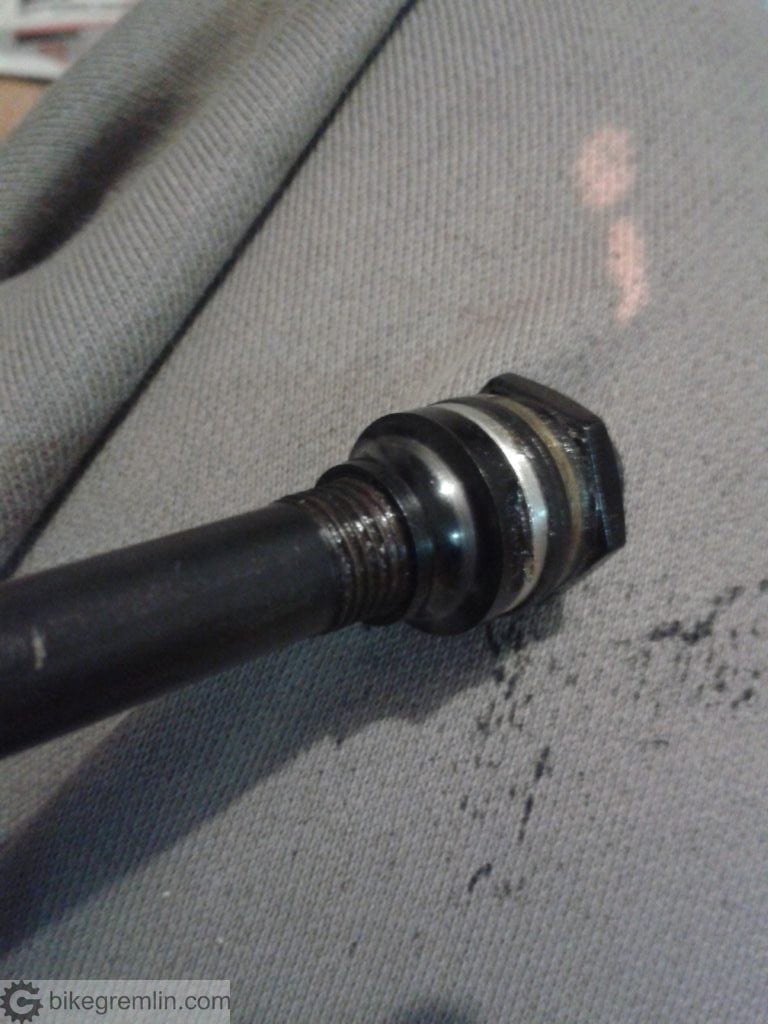
Rim and spokes were cleaned and nipples lubed with “light” oil to help truing the wheel.
Next came hub overhaul. Instructions how to do it are given in this post: Bicycle hub overhaul.
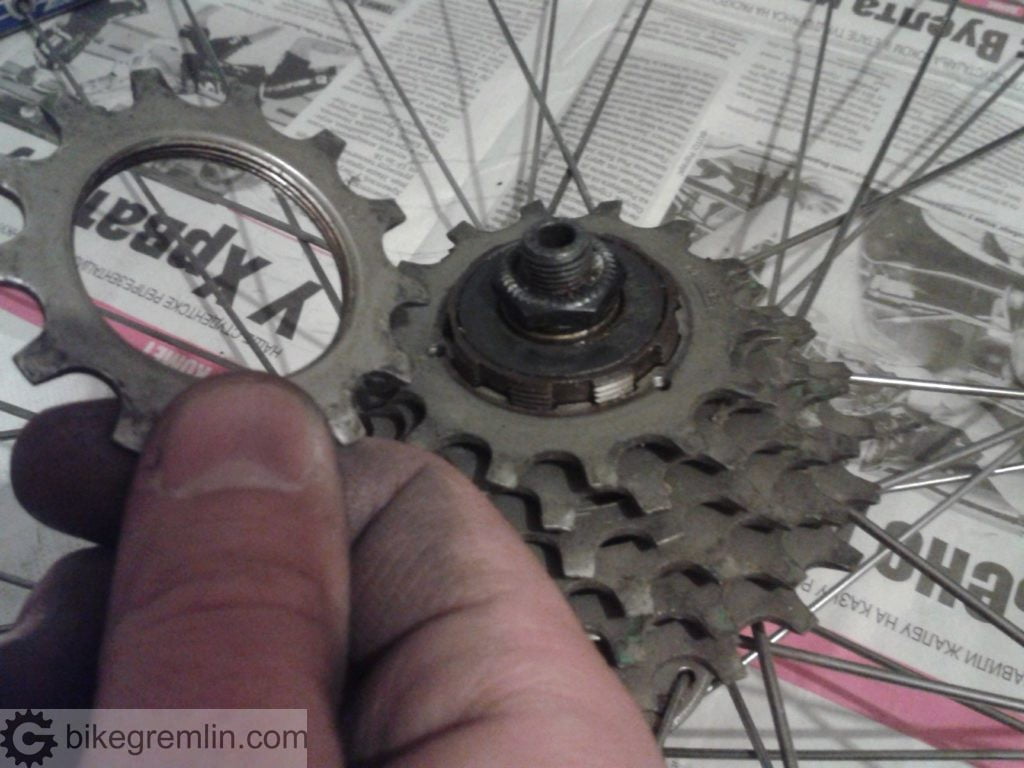

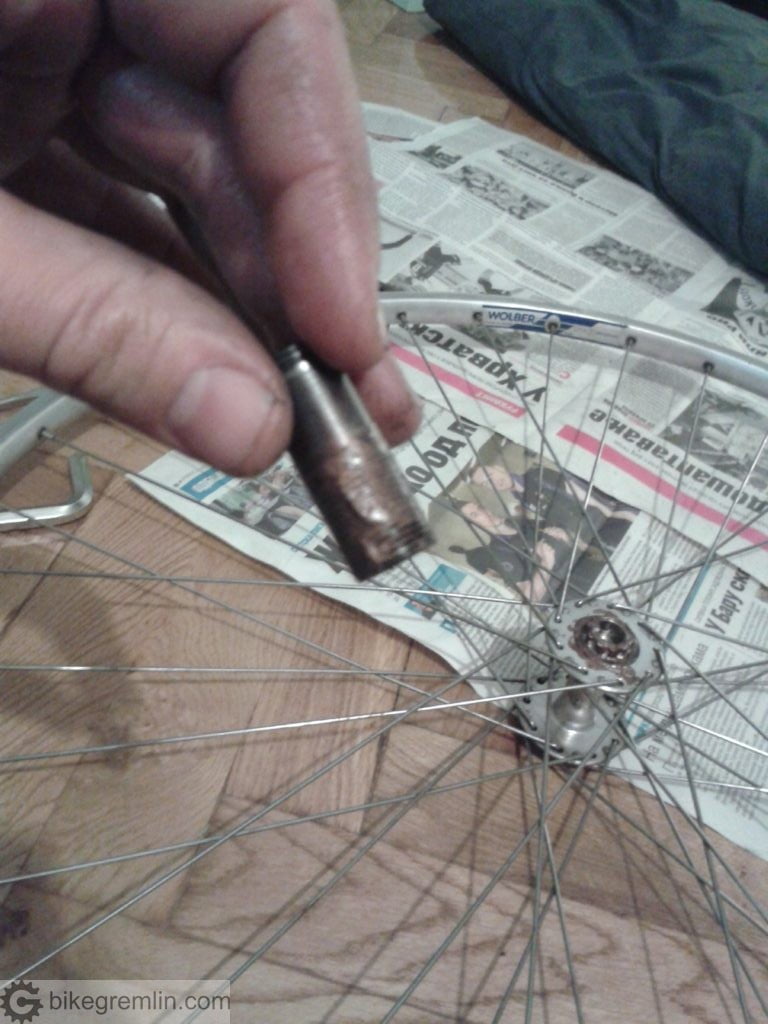
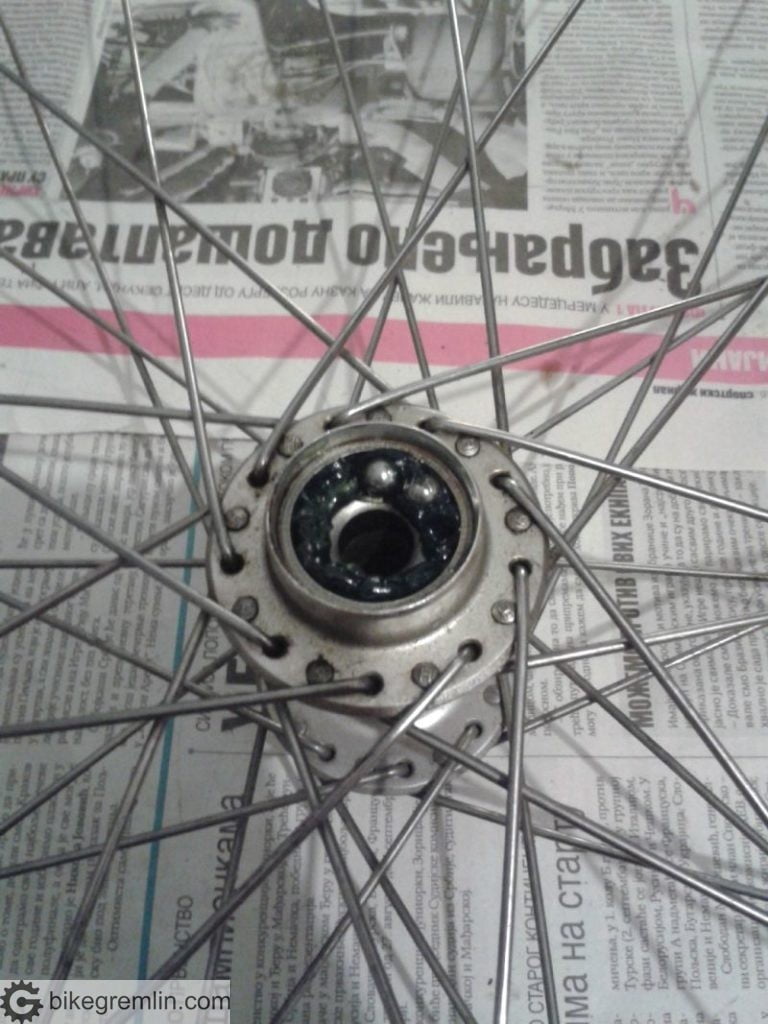
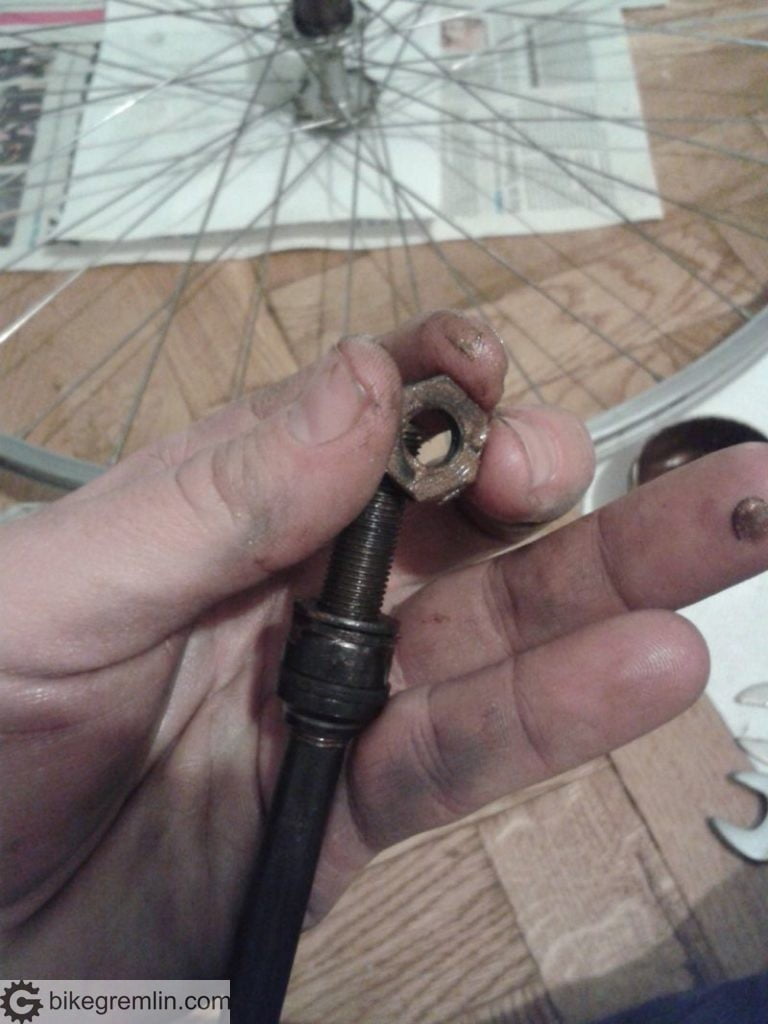
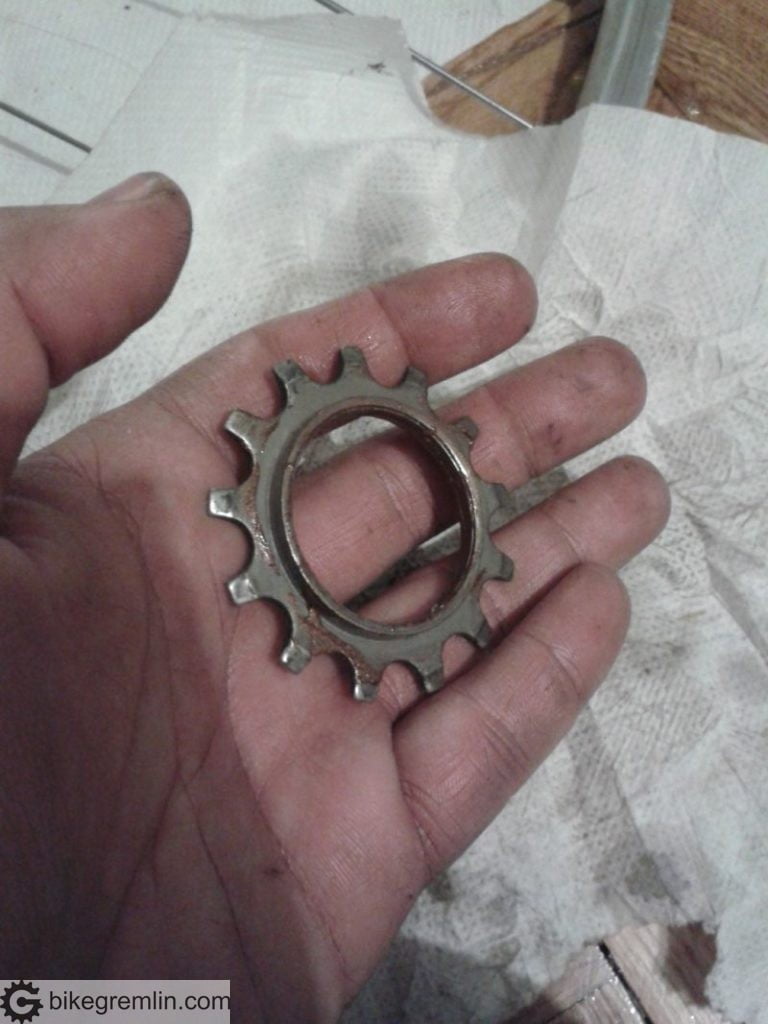
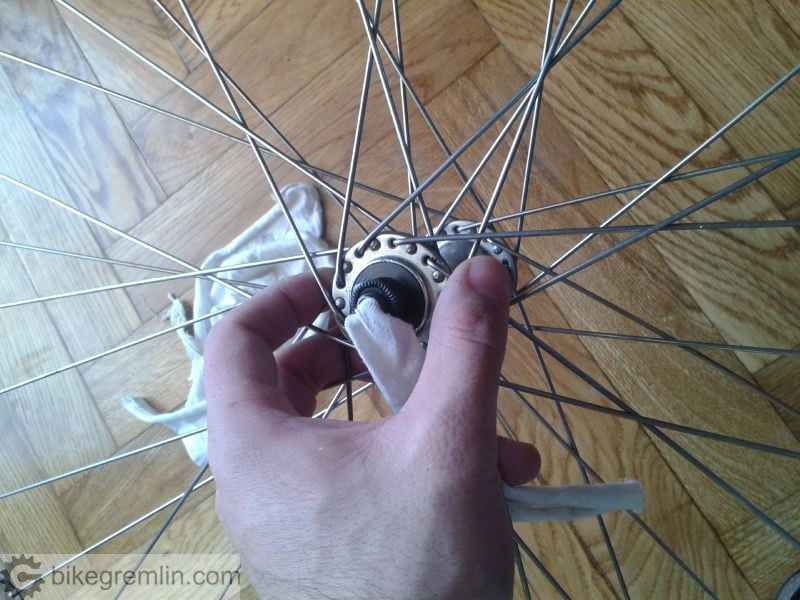
Finally, it was all assembled together and wheels were trued.
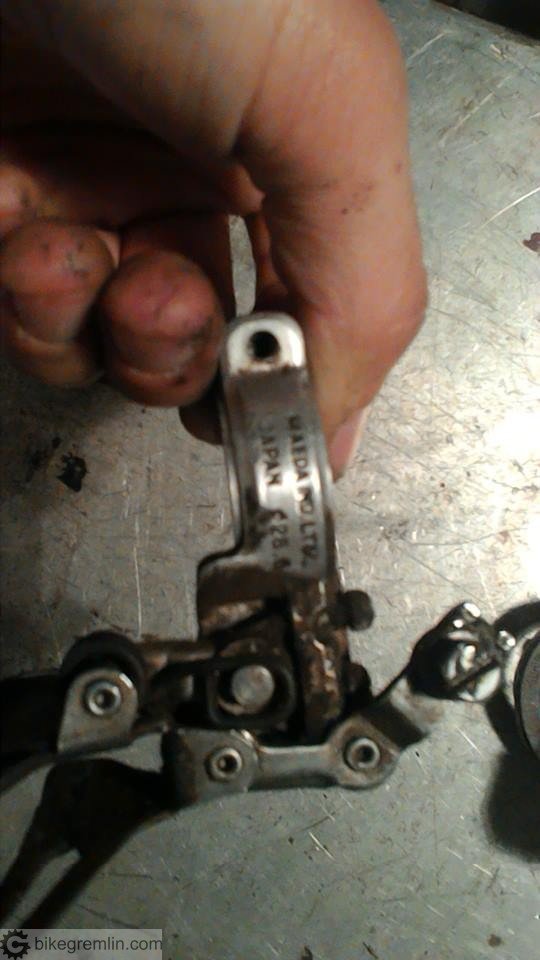
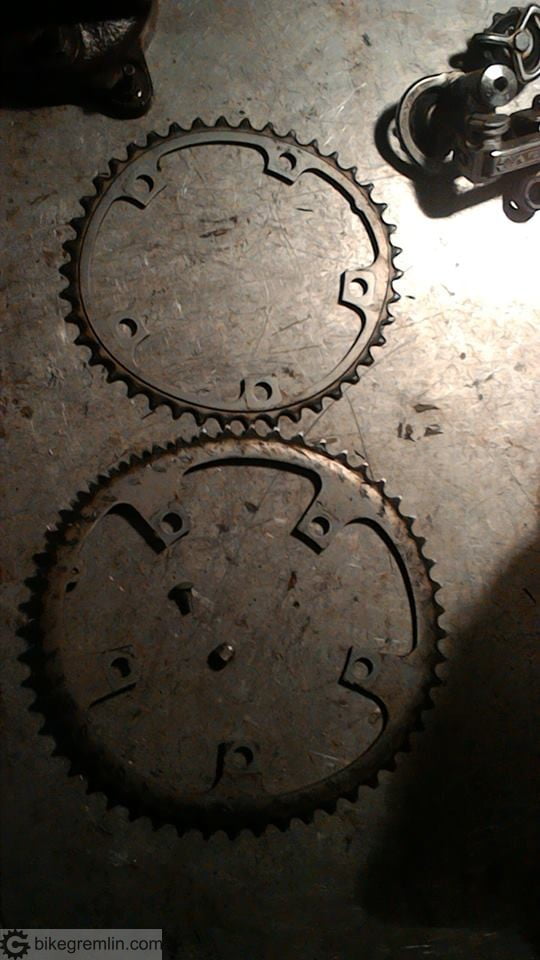
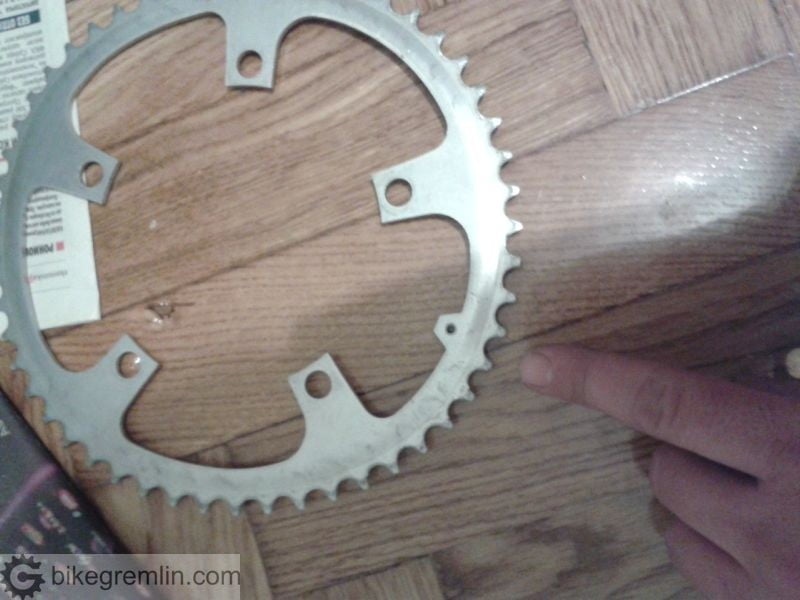
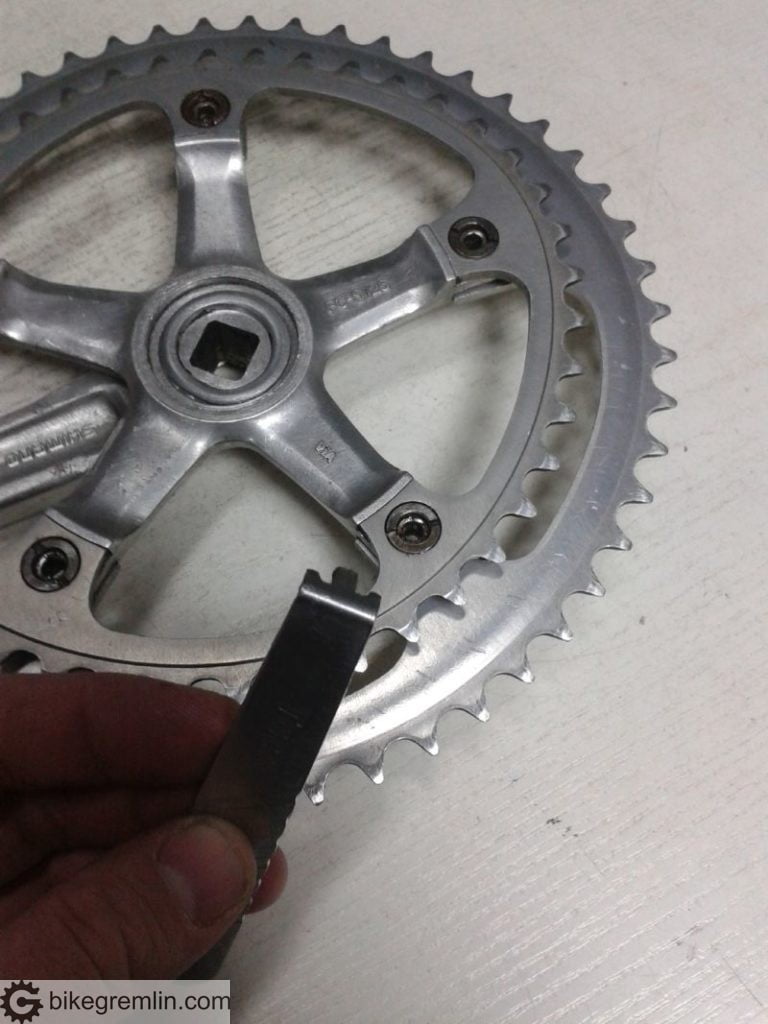
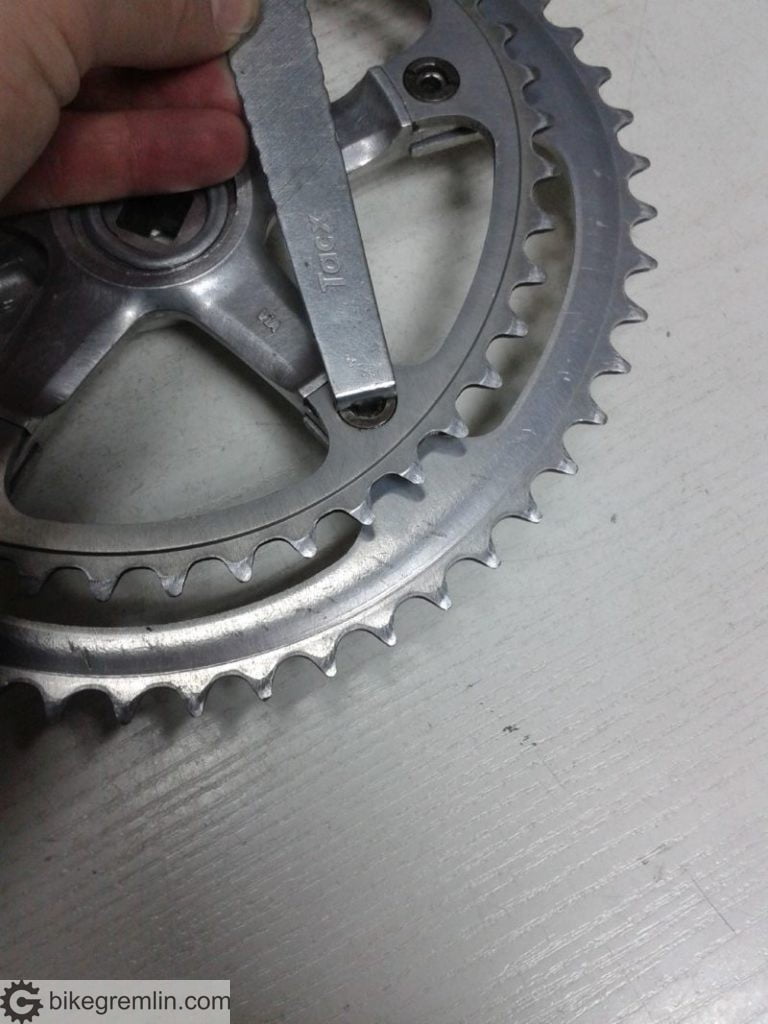
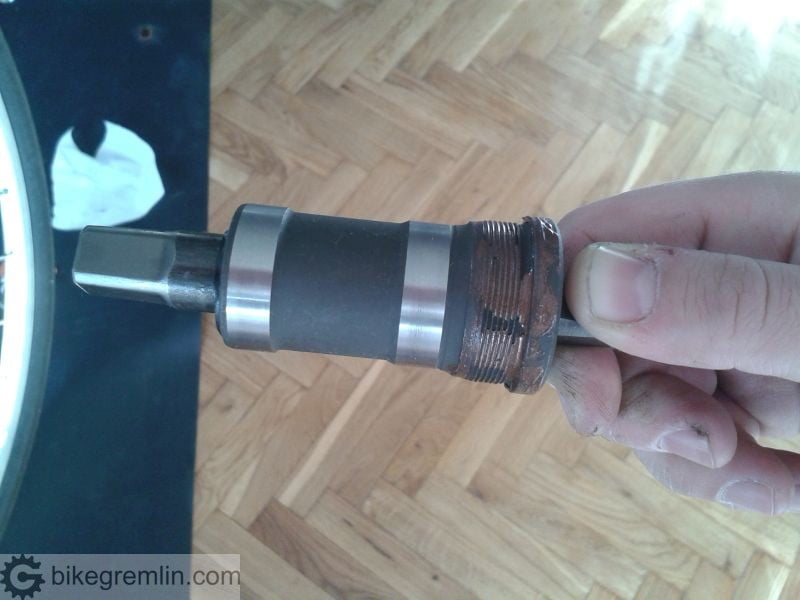
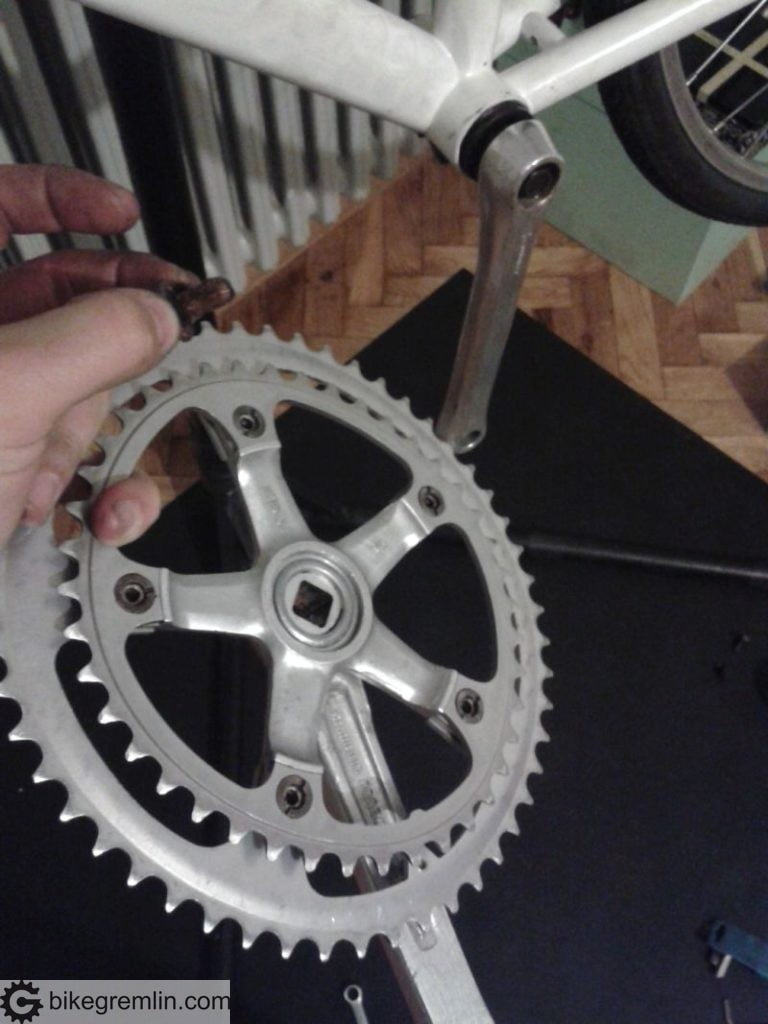
3. Crankset assembly
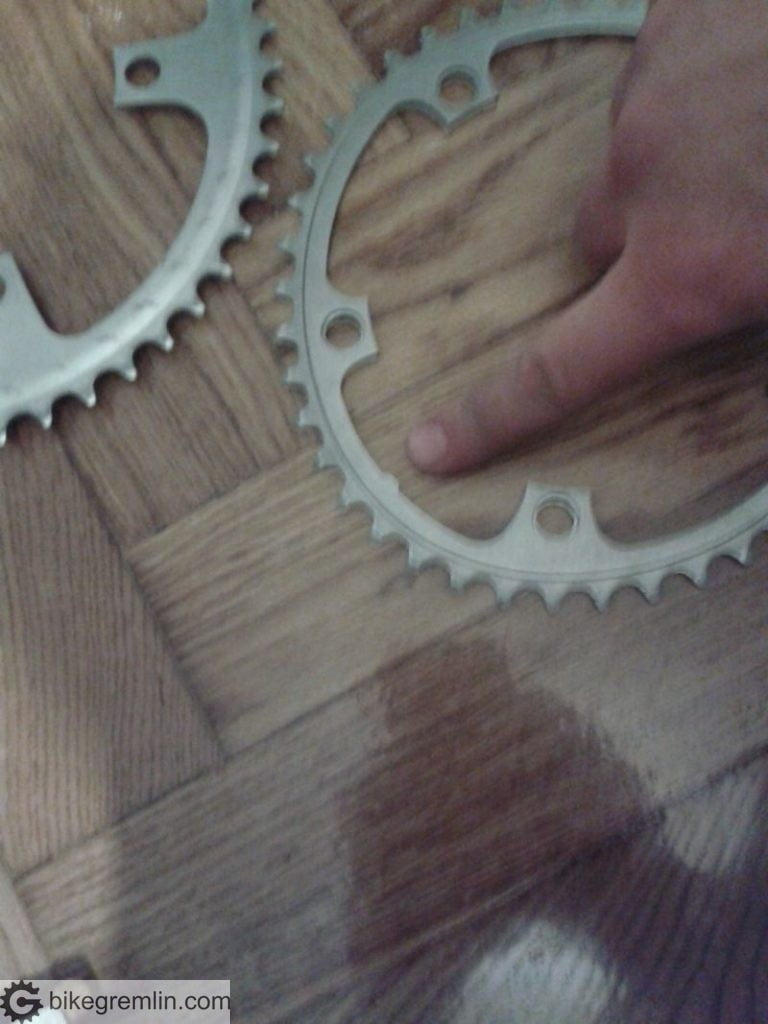
Crankset is Shimano BioPace. It has asymmetric, i.e. not completely round chainrings. The idea is that the diameter is increased near the top and bottom of each stroke (when pedals are at 12 and 6 o’clock). This slightly slows down the transition from upward to downward leg movement (and vice-versa). When cranks are near 3 and 9 o’clock, chainring diameter is effectively smaller, enabling easier and faster movement. This design is easier on the knees when pedalling with more force at a low cadence, and reduces the “bouncing in the saddle” effect when using high cadences.
Most asymmetrical chainrings of other manufacturers use opposite curves – making chainrings with largest diameter at 3 and 9 o’clock pedal position. Like this Rotor’s Q RINGS® chainring design. The idea is to give most resistance in position where a rider can produce most torque, while making it easier in 12 and 6 o’clock position. This design is very bad for the knees, because, when transition from upward to downward movement happens (at top and bottom of each stroke), it lowers resistance, effectively further increasing the turning speed. Effectively – knees and muscles need to transfer from going upwards (and “pulling”) to going downwards (and “pushing”) even faster, than with using round chainrings.
This is why, when mounting BioPace chainrings, proper orientation is very important:
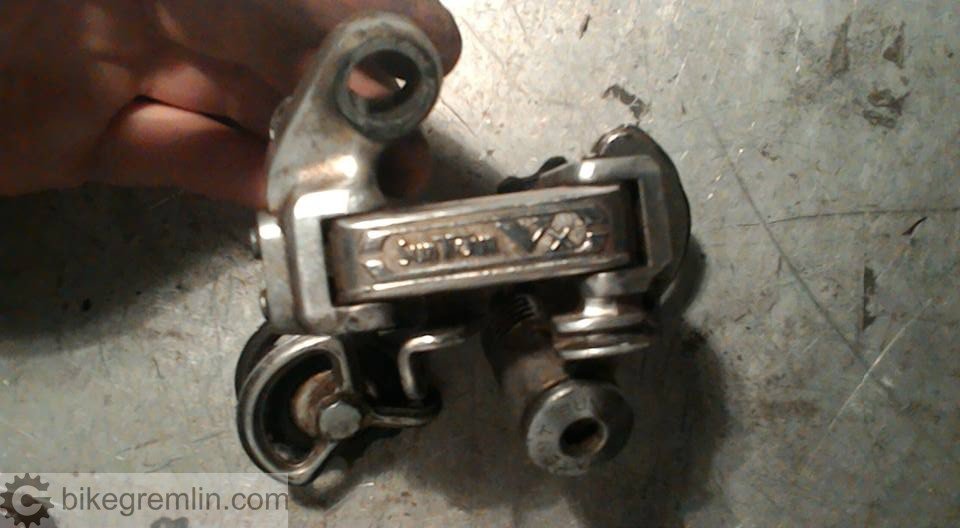
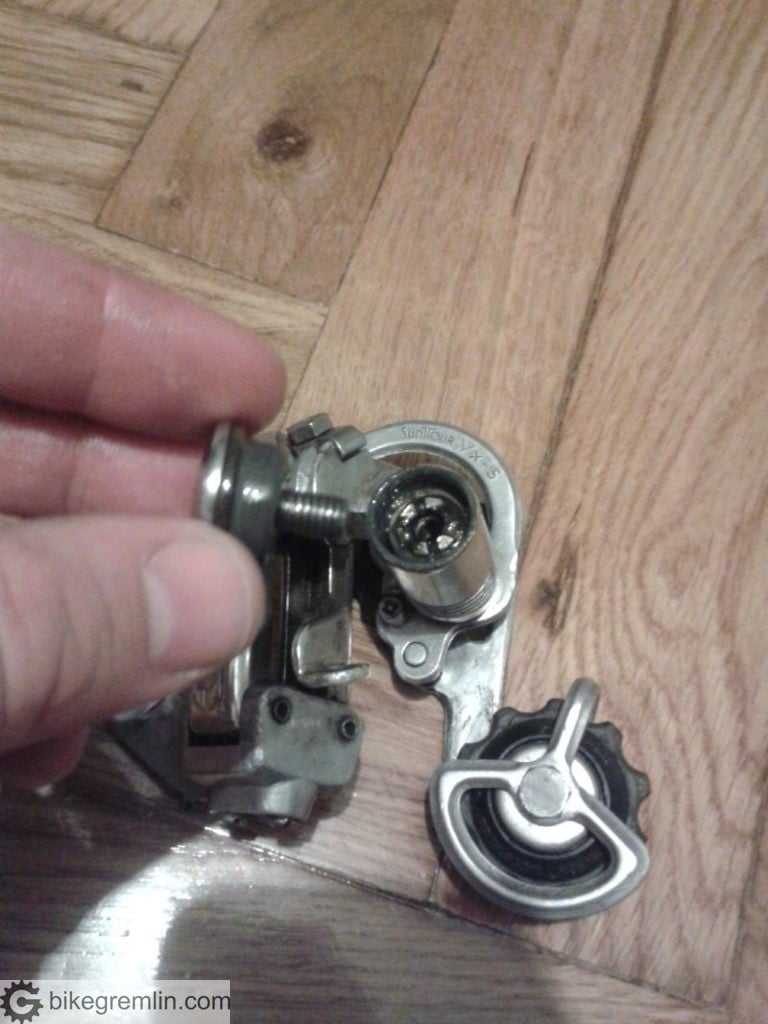
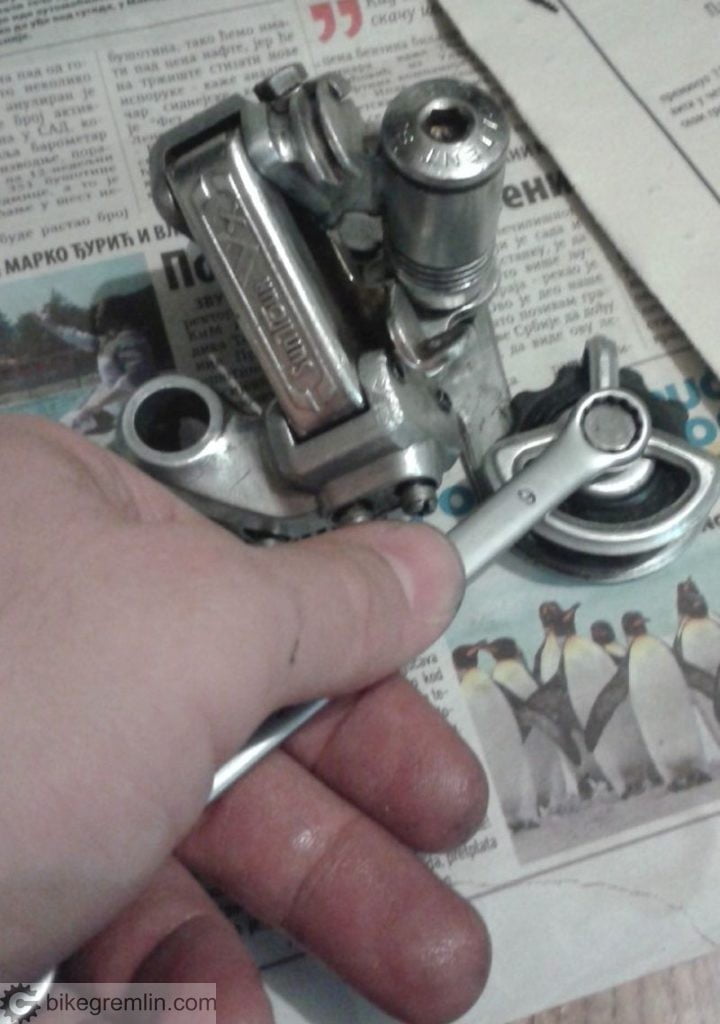
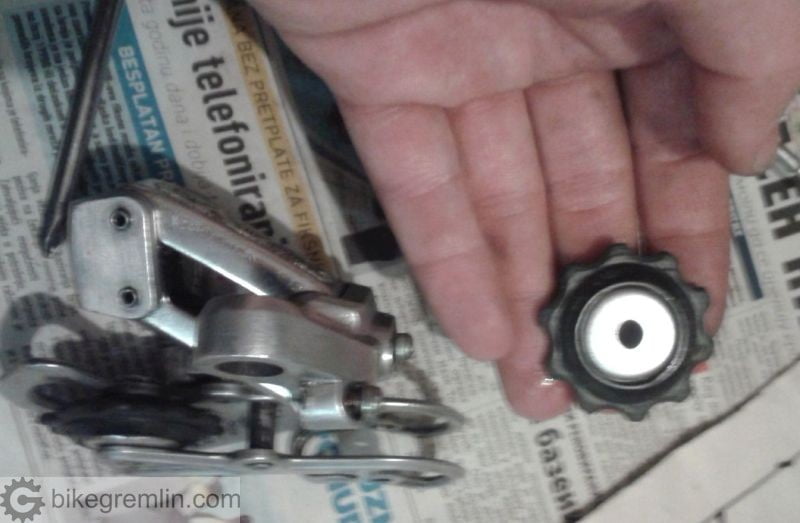
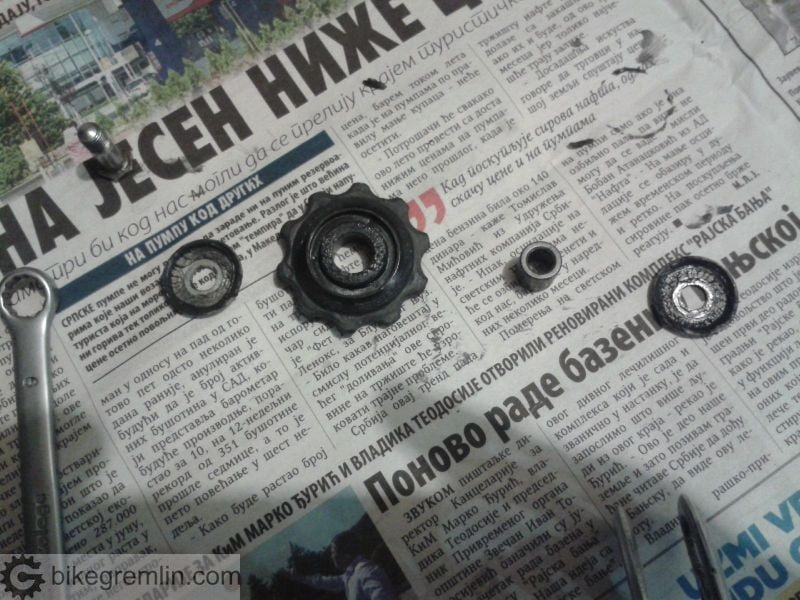
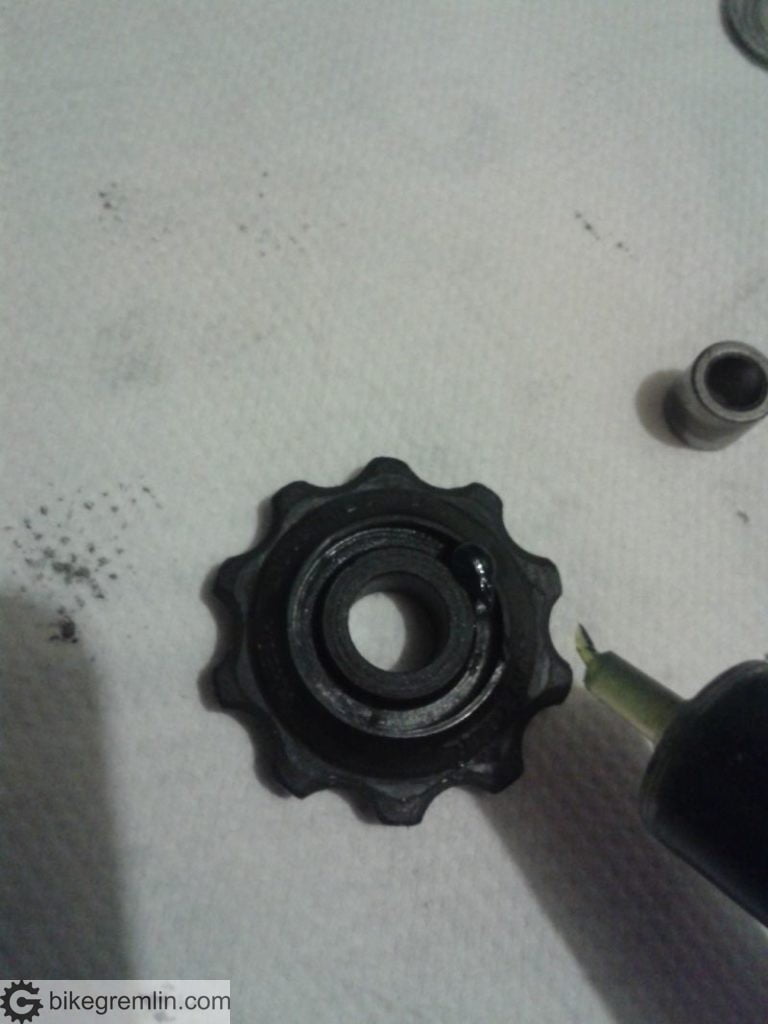
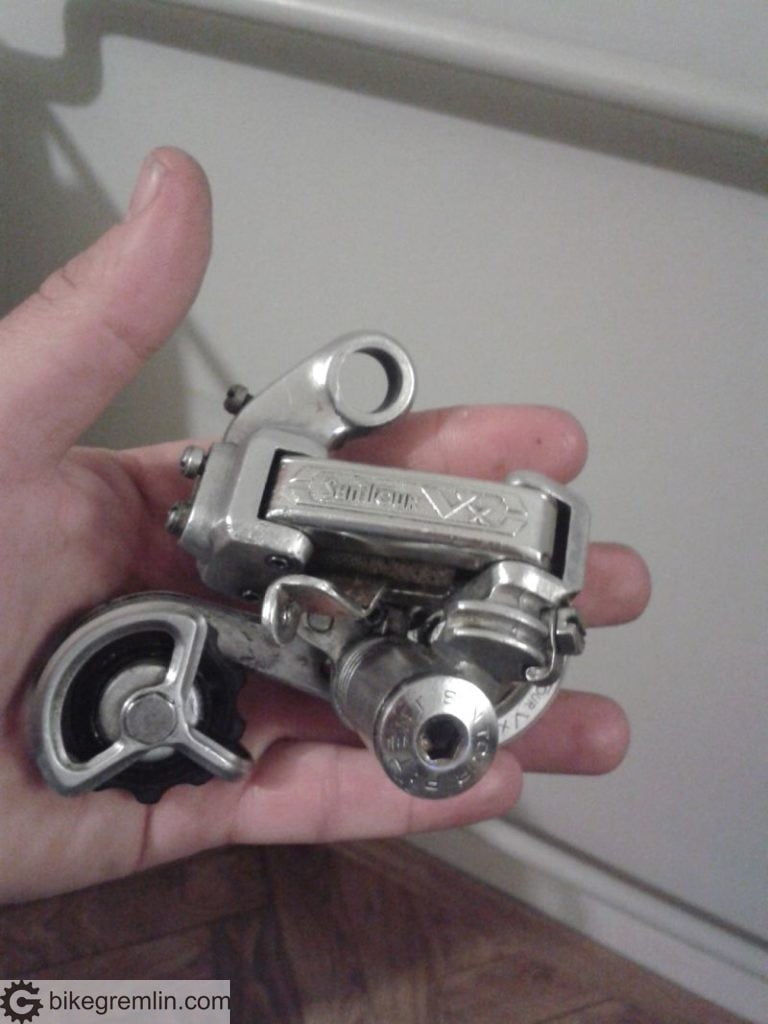
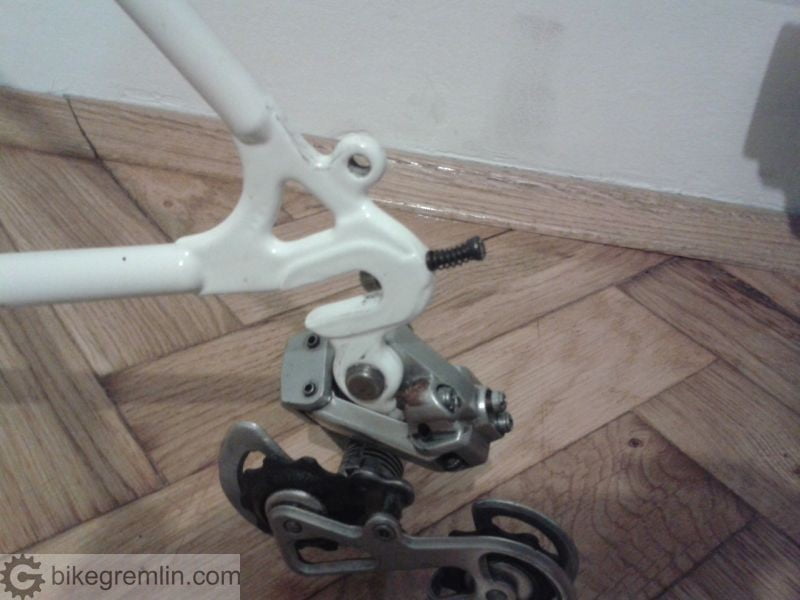
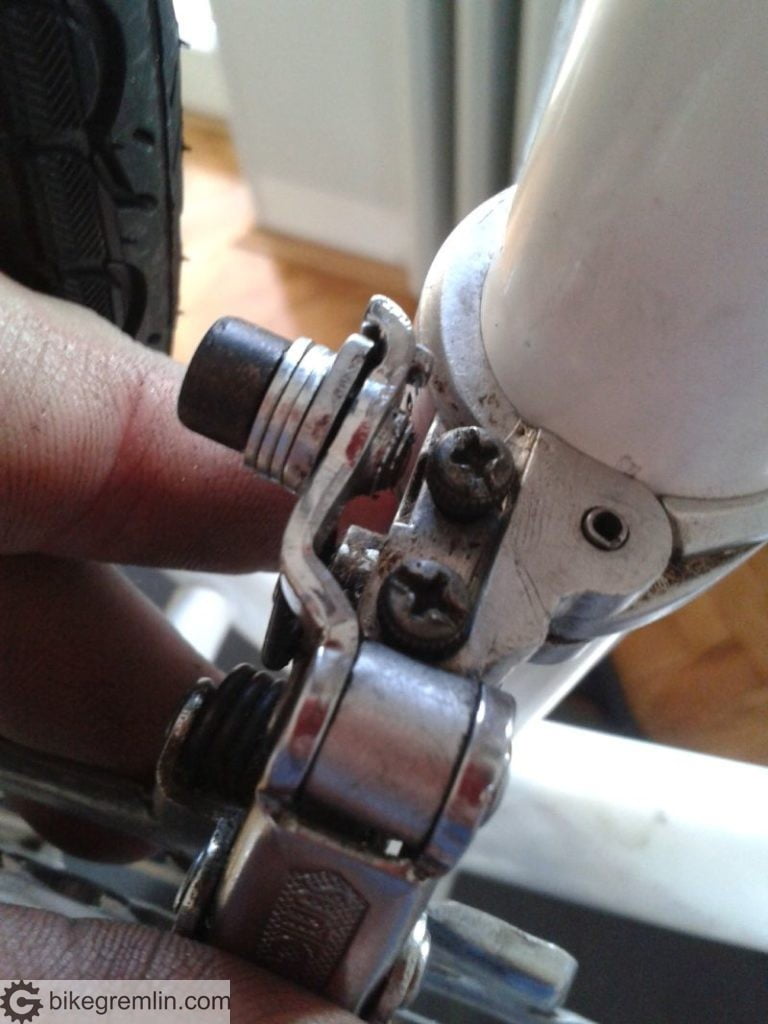
4. Rear derailleur service
Rear derailleur was completely disassembled, cleaned and re-lubricated:
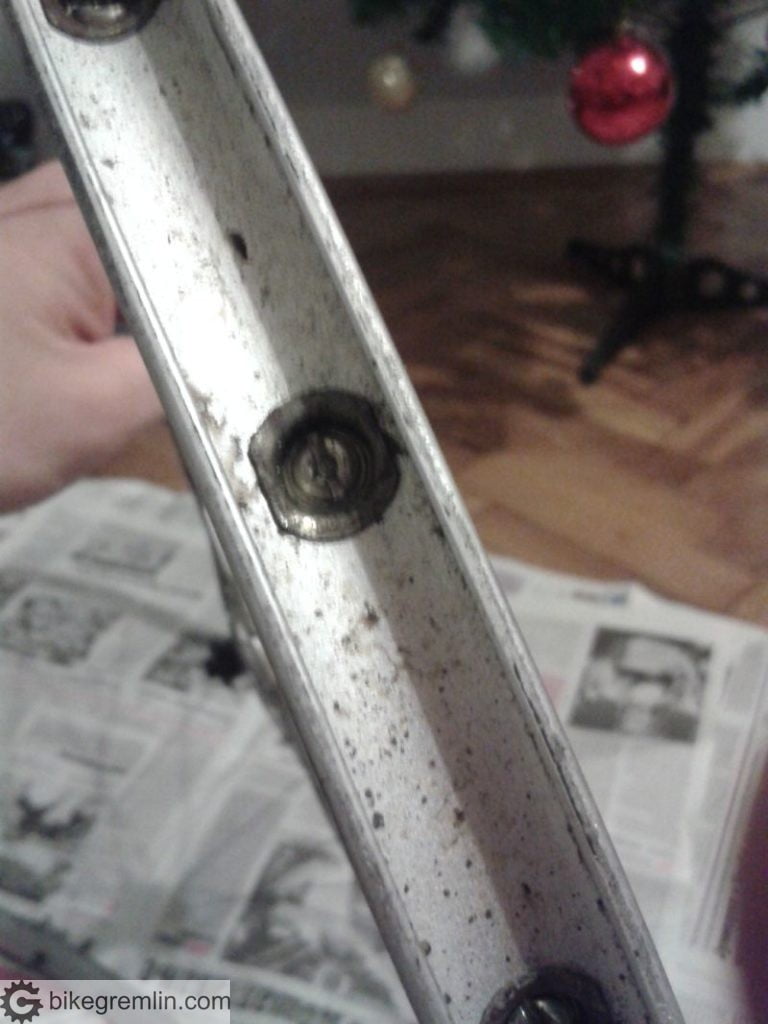
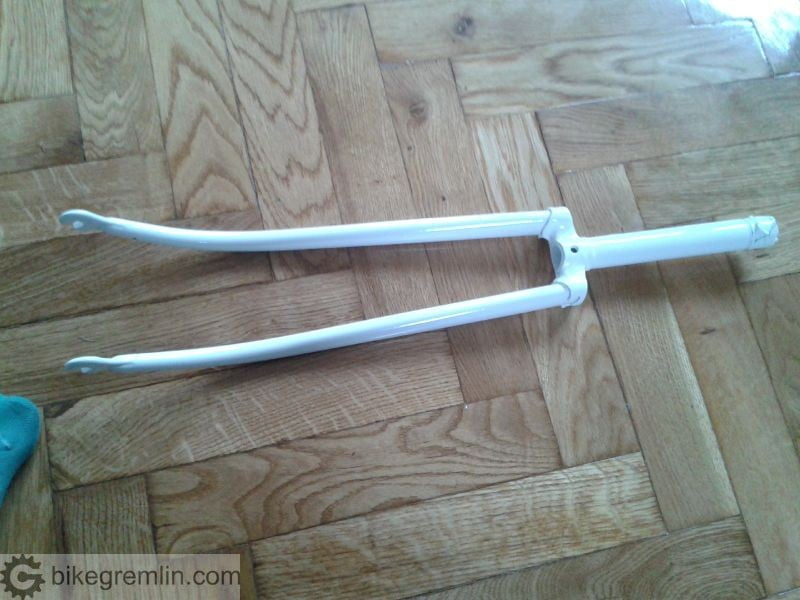
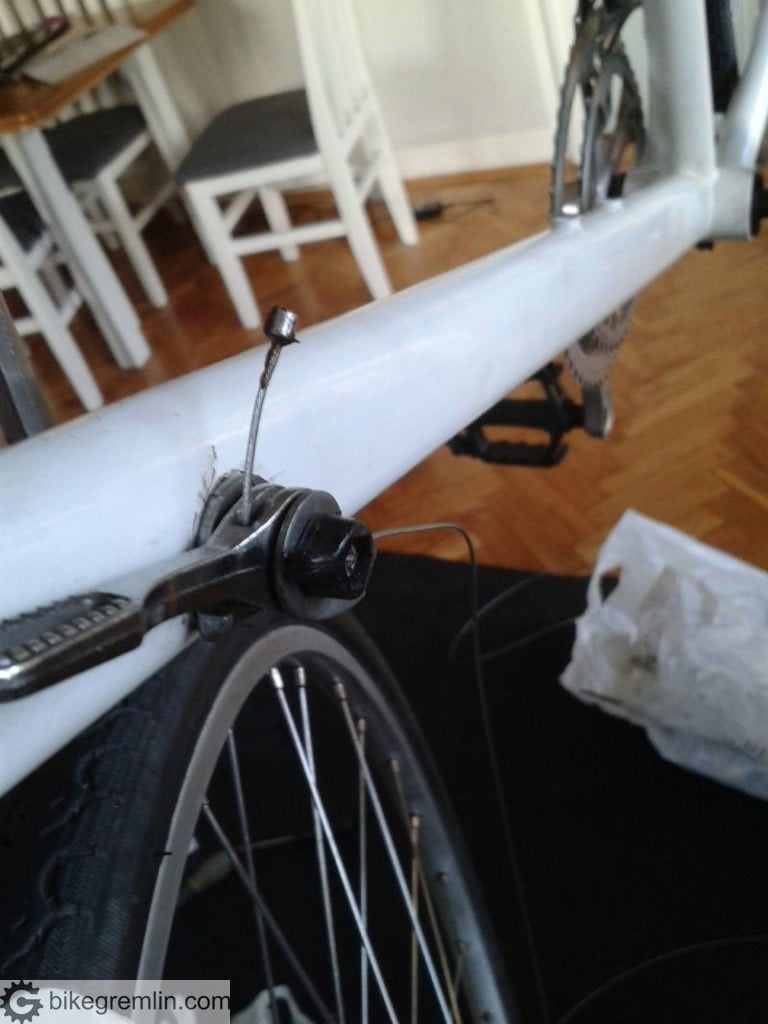
5. Frame restauration
Frame needed sand blasting, then painting, then preparation for all the parts to be mounted onto it.
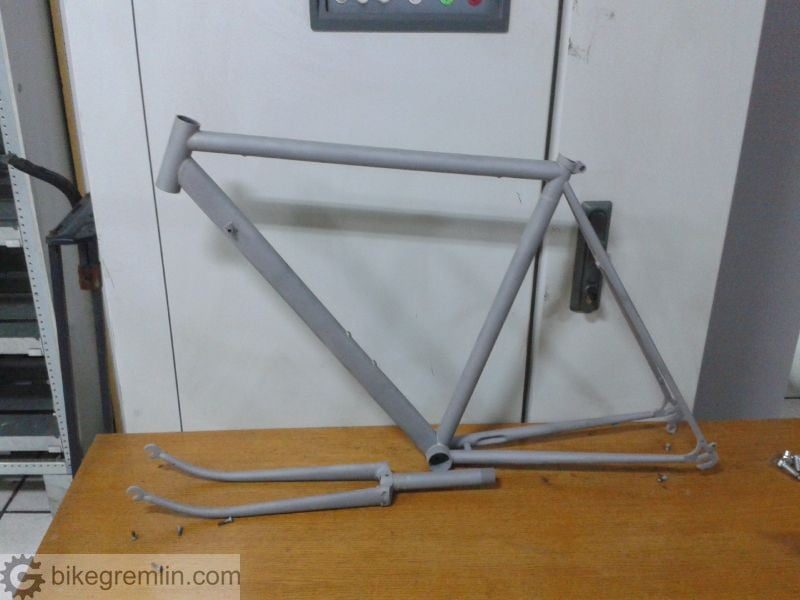
Then the frame was sent to be powder coated.
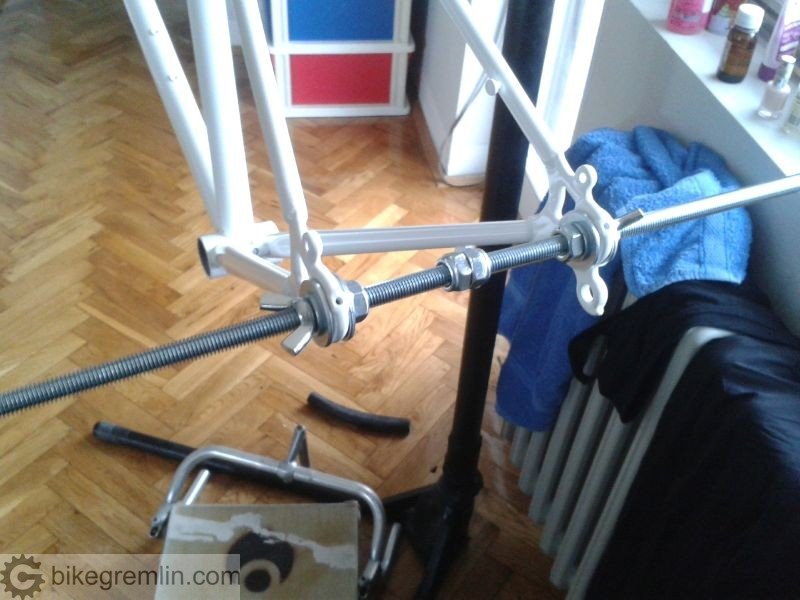
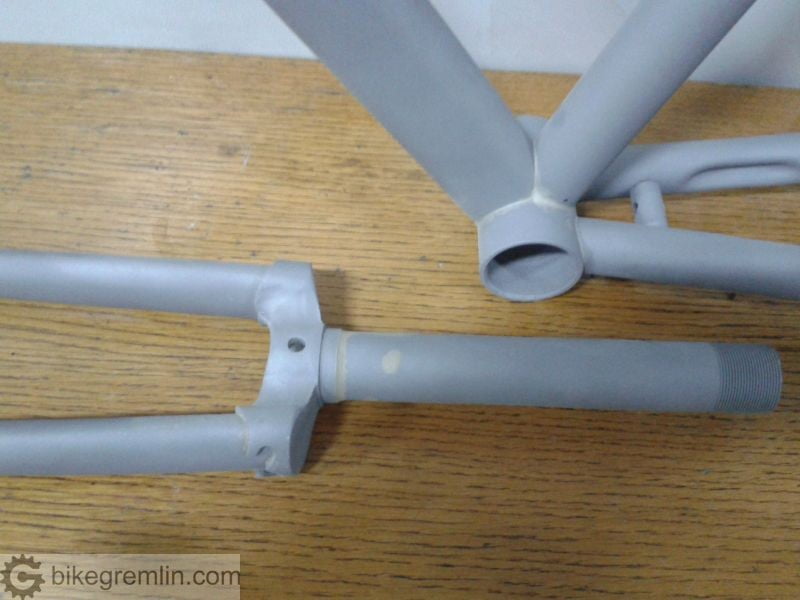
Frame measurement and re-alignment should be done before painting, this was just a final check before assembling it. Had there been any damage during transport, it would have shown in this final measurement.
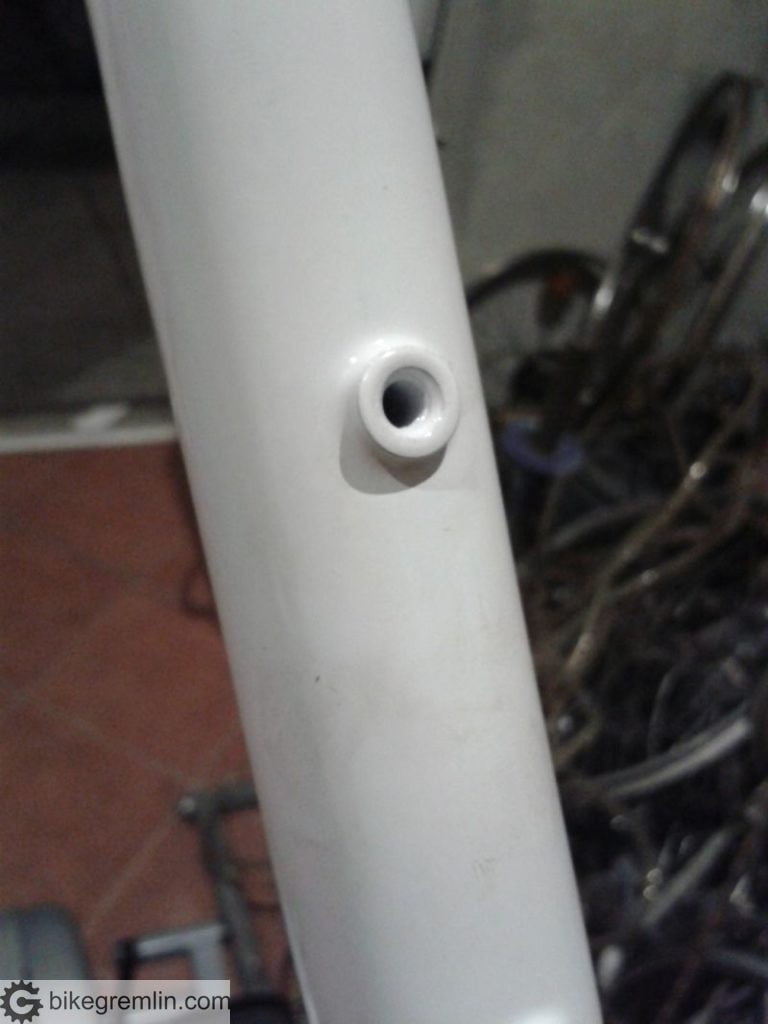
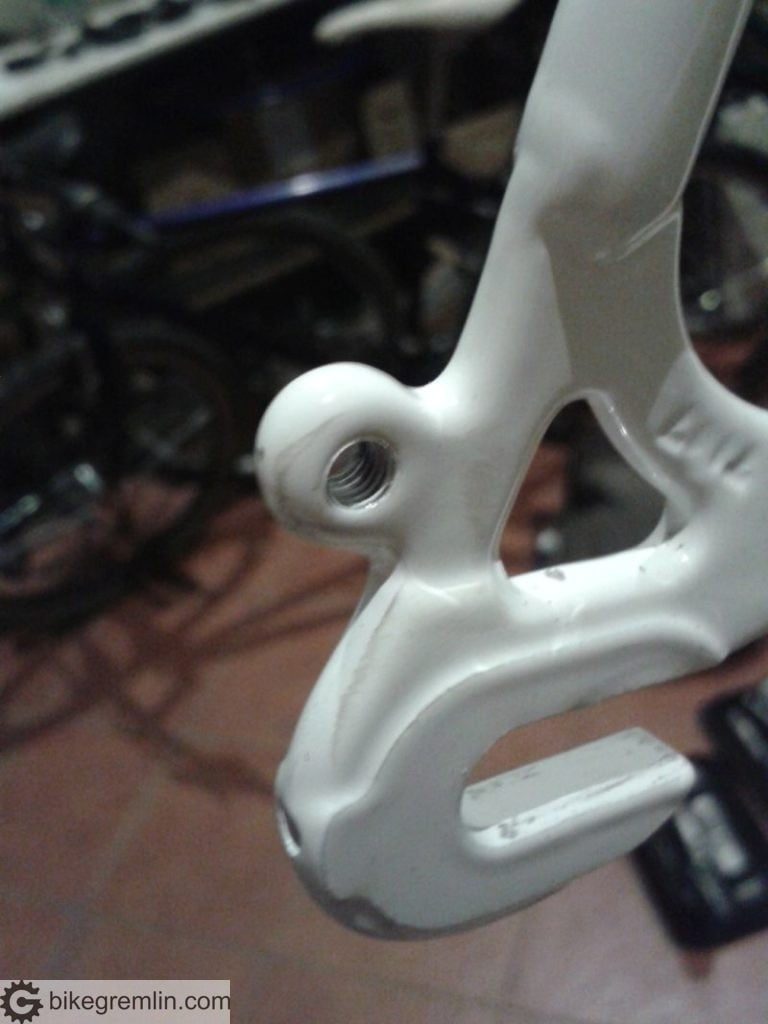
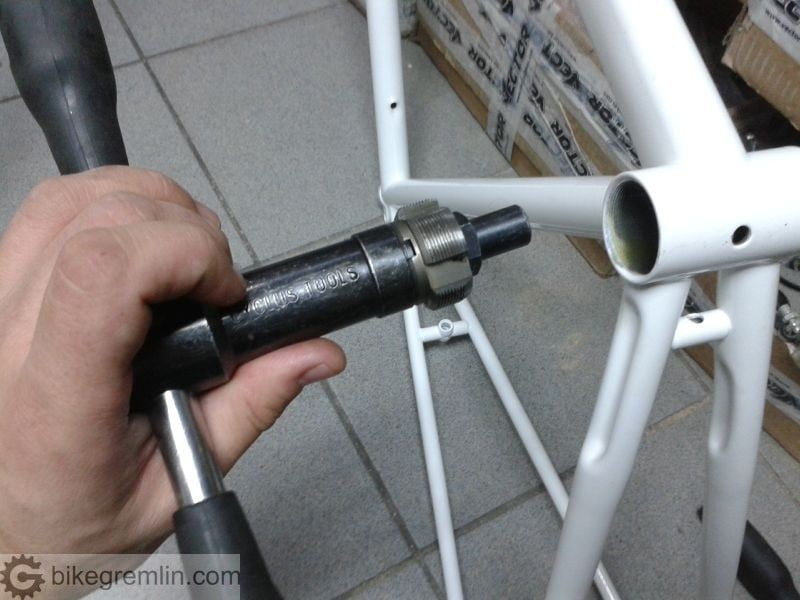
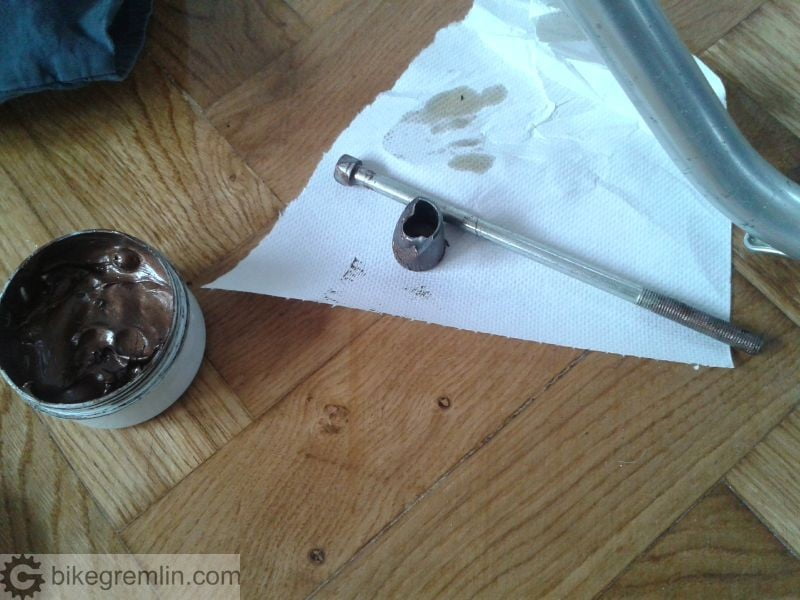
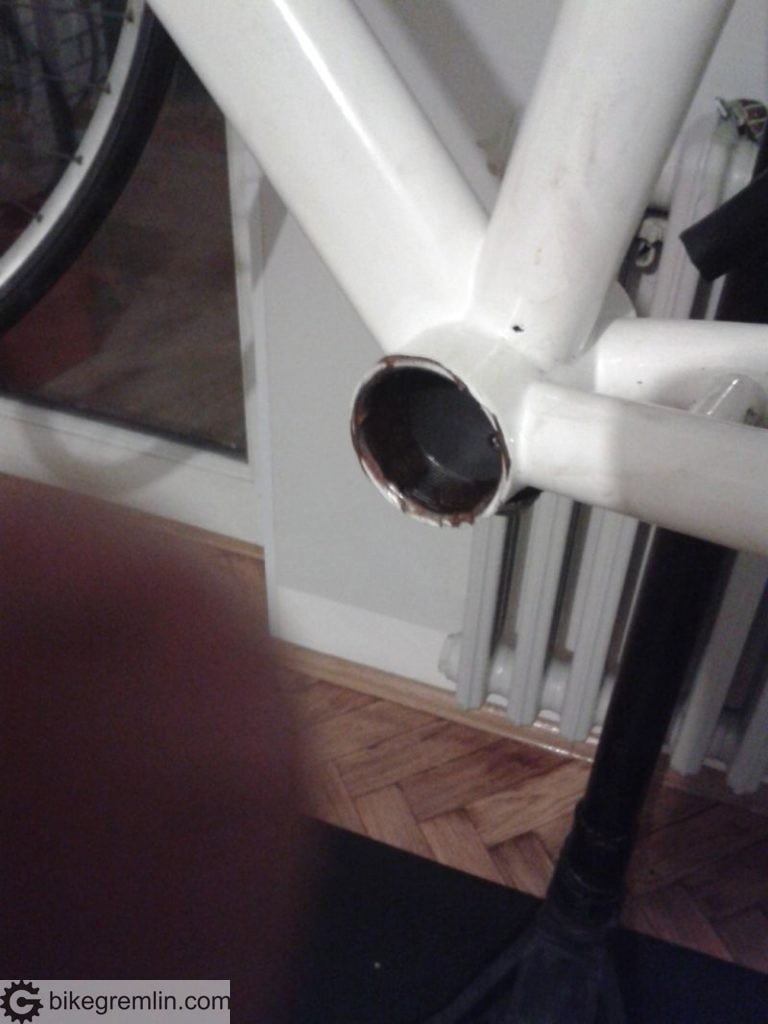
Before mounting parts, all the frame mounting threads needed to be cleaned:
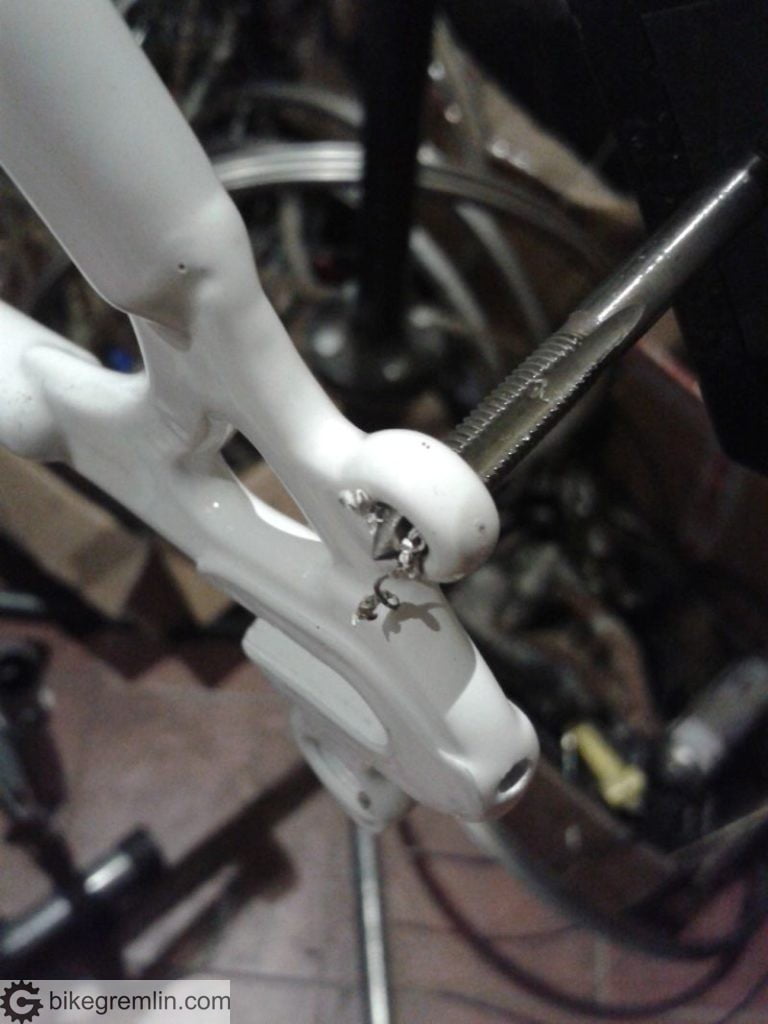
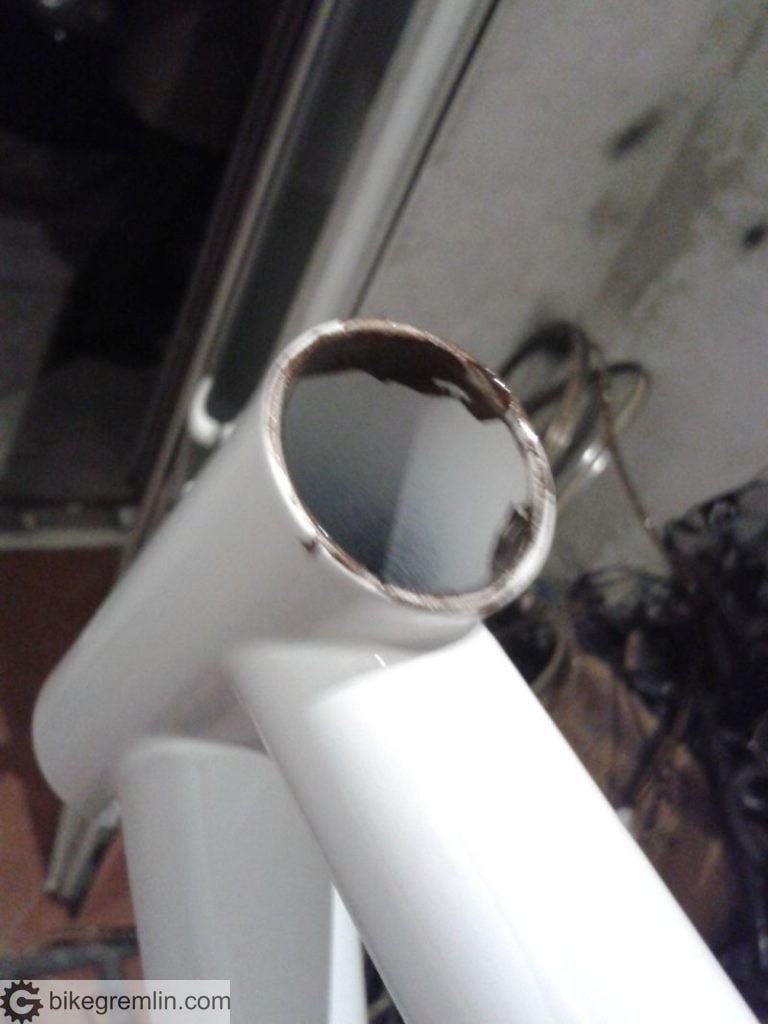
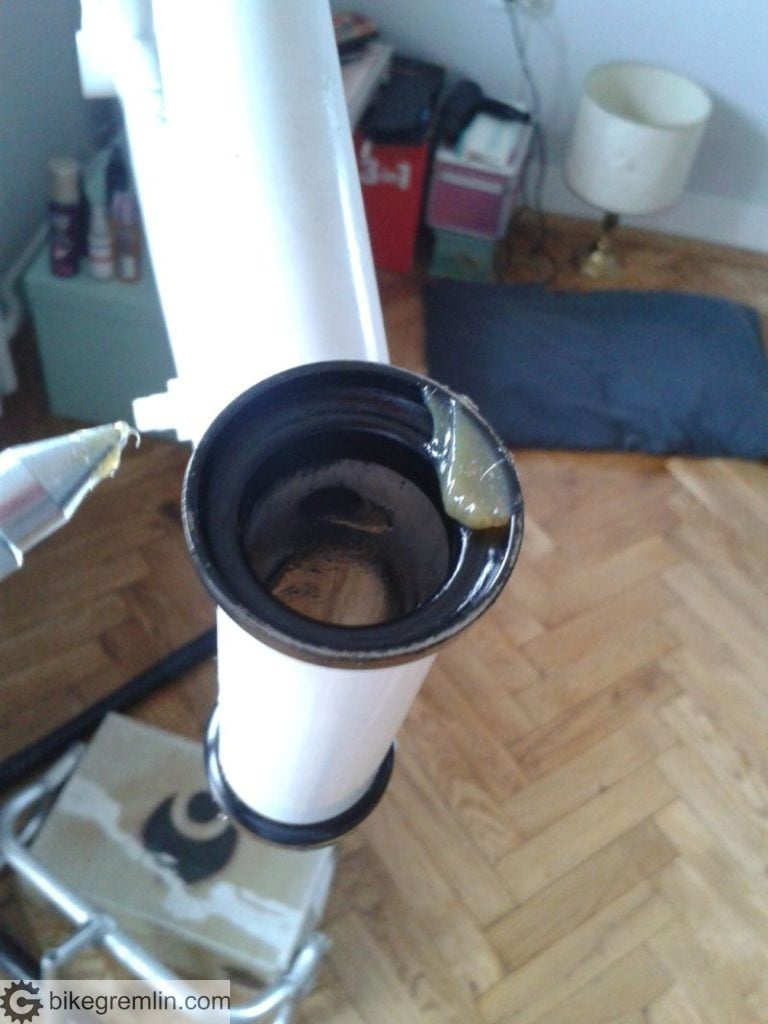
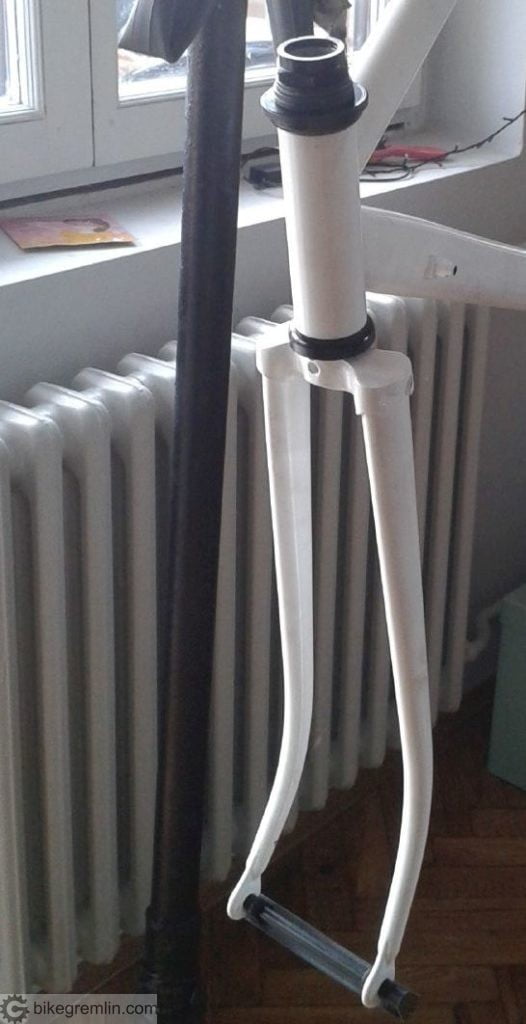
6. Mounting headset and fork onto the frame
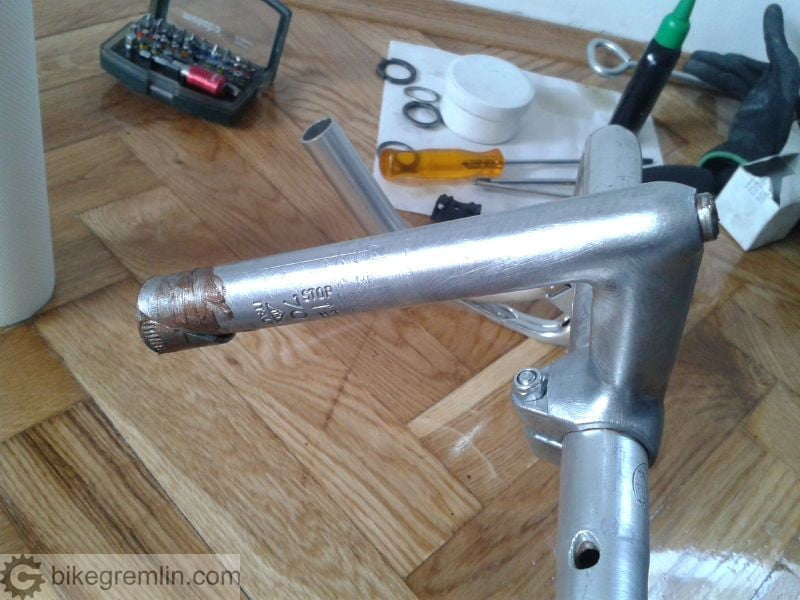
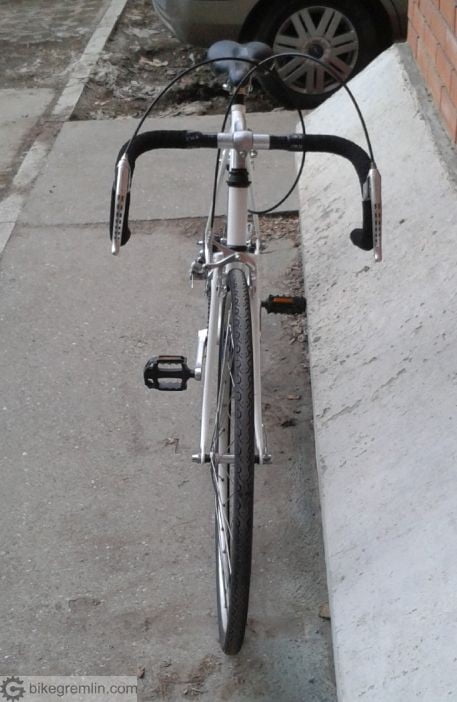
7. Mounting all the components onto the frame
8. Routing housing and cables

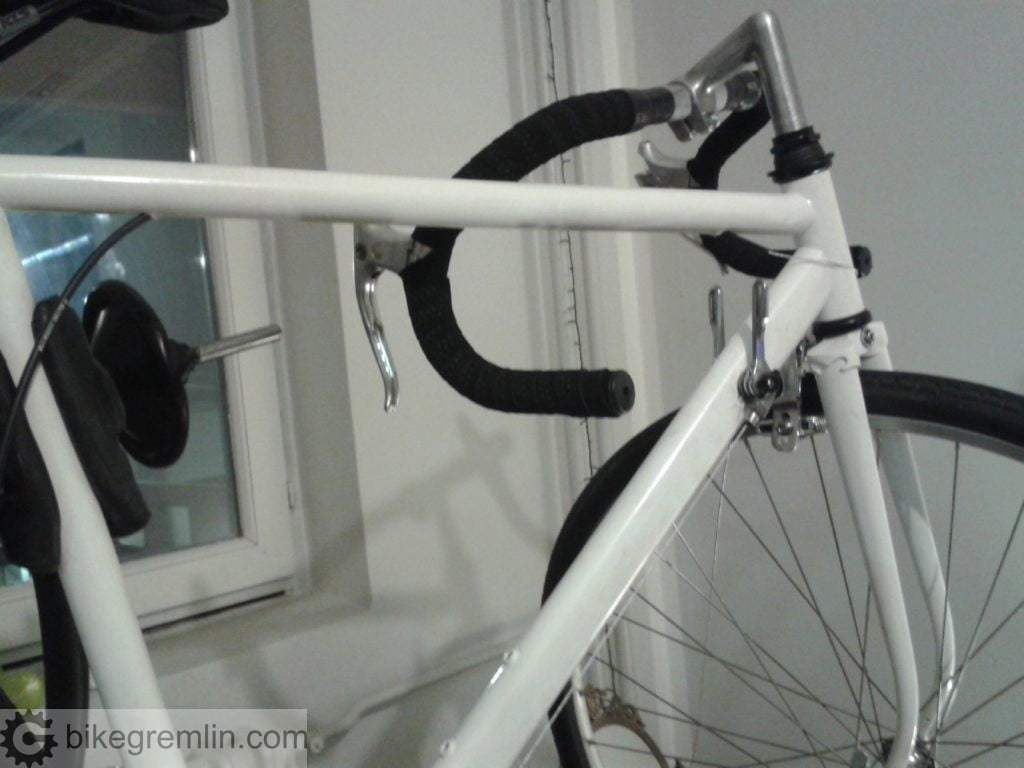
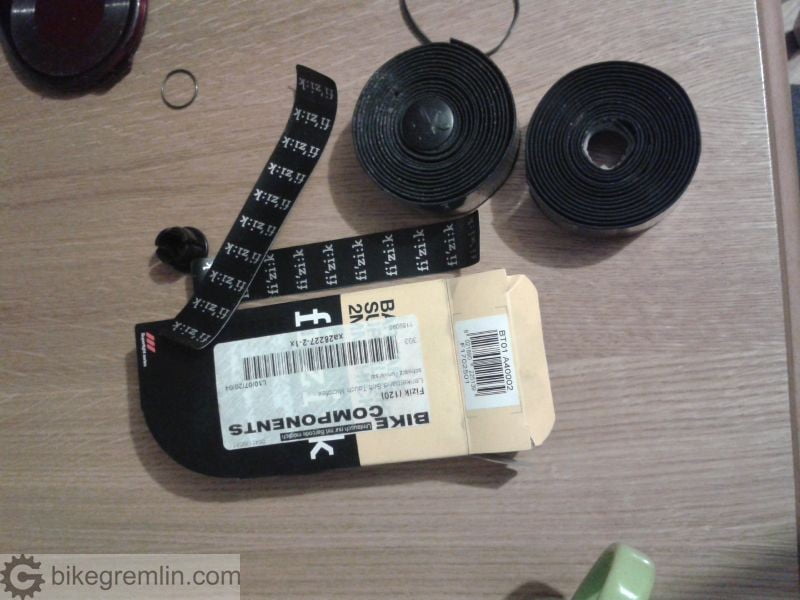
9. Final touches
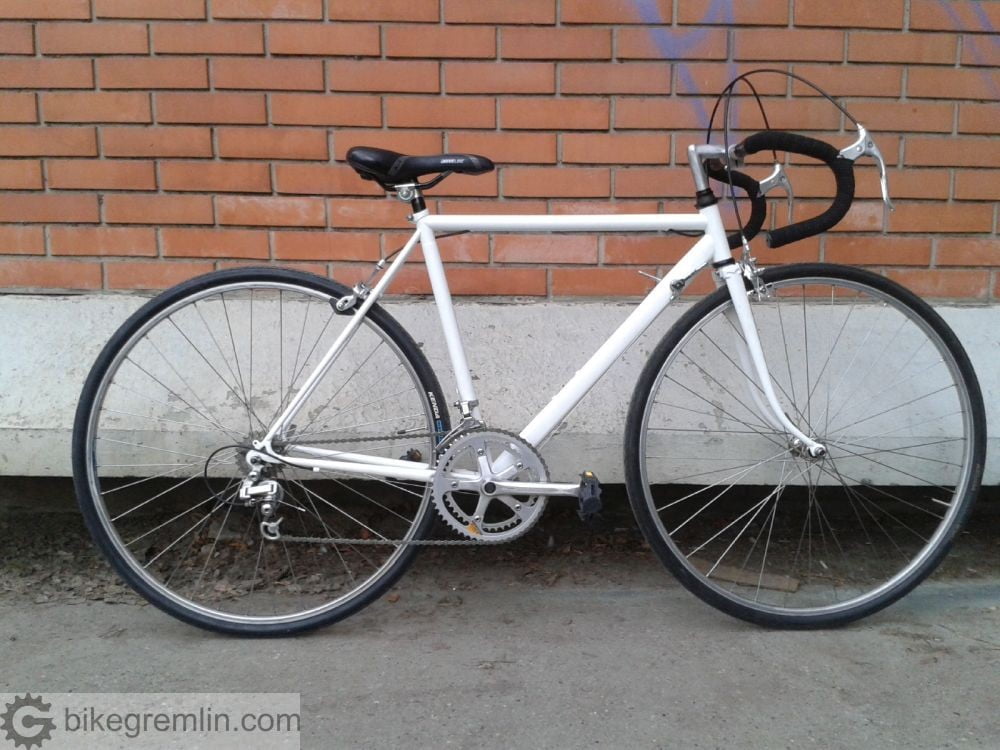
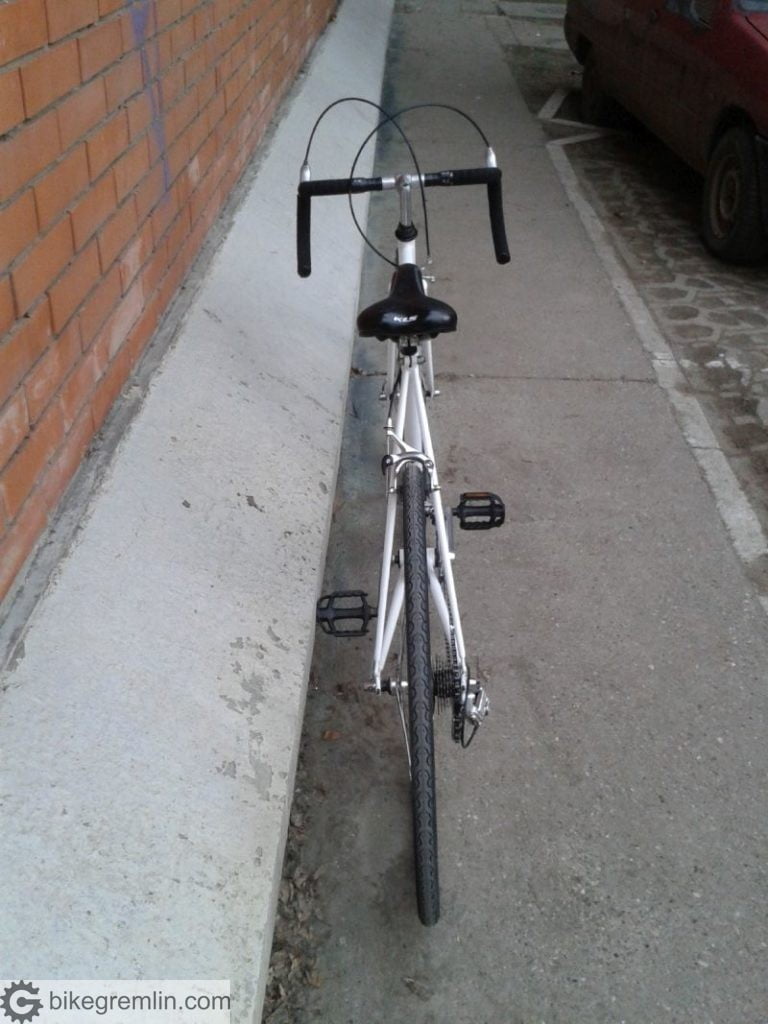
It was a long, but interesting and fun project. Bicycle looks lovely and rides like the wind. 🙂